For the complete documentation index, see llms.txt. Markdown versions of all docs pages are available by appending .md to any docs URL.
Set up MCP auth
Verified Code examples on this page have been automatically tested and verified.Secure MCP servers with OAuth 2.0 authentication using agentgateway and an identity provider like Keycloak.
Secure your Model Context Protocol (MCP) servers with OAuth 2.0 authentication by using agentgateway and an identity provider like Keycloak.
About this guide
In this guide, you configure the agentgateway proxy to protect a static MCP server with Keycloak. The MCP client uses dynamic client registration (DCR) with Keycloak and sends the user through the OAuth flow. DCR creates the client registration but does not grant access to the MCP server. Agentgateway validates the token audience and permits only members of the Keycloak users group.
MCP auth vs JWT auth
You can configure both MCP and JWT auth with an AgentgatewayPolicy. For most MCP cases, choose MCP auth.
MCP auth: Use MCP auth for MCP clients, such as MCP Inspector, VS Code, or Claude Code that need to dynamically discover the auth server and register with your IdP to get a client ID. The agentgateway proxy facilitates the discovery and client registration process between MCP clients and IdPs that do not implement the MCP OAuth spec. This way, your MCP clients successfully obtain a client ID to complete the OAuth flow.
JWT auth: Use basic JWT auth when you have static clients or service-to-service traffic. Clients already have a JWT from your IdP or a static token. You only need the gateway to validate the token and optionally enforce RBAC by claims. For example, you might want to grant access only to JWTs that contain the
suborteamclaim. No discovery or client registration is involved.
Review the following table for a quick comparison of MCP auth and JWT auth.
| Feature | MCP Auth | JWT Auth |
|---|---|---|
| Goal | Full MCP OAuth flow (discovery, client registration, token validation) | Validate tokens and optional claim-based RBAC |
| Policy section | spec.traffic.jwtAuthentication, including the mcp field | spec.traffic.jwtAuthentication |
| Target ref | Gateway or HTTPRoute | Gateway or HTTPRoute |
| Client registration | Dynamic registration with IdP | None (client has token) |
MCP auth builds on JWT auth instead of replacing it, which is why both rows name the same policy section and target ref. Configure the shared providers, mode, and location fields the same way for either type of auth, then add the mcp field to turn on the MCP OAuth behavior. The mcp field contributes only the MCP-specific settings: provider, clientId, and resourceMetadata.
For more information, see the JWT auth docs.
Before you begin
- Set up an agentgateway proxy.
- Follow the steps to set up an MCP server with a fetch tool.
- Follow the steps to set up Keycloak.
- Install the experimental channel Gateway API.
kubectl apply --server-side -f https://github.com/kubernetes-sigs/gateway-api/releases/download/v1.6.0/experimental-install.yaml
Configure MCP auth
With Keycloak deployed and your MCP backend configured, you can now create an AgentgatewayPolicy that enforces authentication for the MCP backend.
Create an AgentgatewayPolicy with MCP authentication and authorization configuration. The policy validates the resource audience and uses a Common Expression Language (CEL) rule to require the Keycloak
usersgroup.kubectl apply -f - <<EOF apiVersion: agentgateway.dev/v1alpha1 kind: AgentgatewayPolicy metadata: name: mcp-echo-authn spec: # Target the HTTPRoute to apply authentication at the route level targetRefs: - group: gateway.networking.k8s.io kind: HTTPRoute name: mcp # Configure MCP authentication at the traffic (route) level traffic: jwtAuthentication: # Require a valid JWT from one of the configured providers mode: Strict providers: - # Issuer URL - must match the 'iss' claim in JWT tokens issuer: "${KEYCLOAK_ISSUER}" # Expected audience in JWT tokens audiences: - "${MCP_RESOURCE}" # JWKS configuration for token validation jwks: remote: # Reference to the Keycloak service for fetching public keys backendRef: name: keycloak kind: Service namespace: keycloak port: 8080 # Path to the JWKS endpoint on the issuer jwksPath: "${KEYCLOAK_JWKS_PATH}" # MCP-specific extensions for OAuth discovery mcp: # Identity provider type provider: Keycloak # MCP resource metadata for OAuth discovery resourceMetadata: # Resource identifier for this MCP server resource: "${MCP_RESOURCE}" # Scopes supported by this MCP server scopesSupported: - email # Methods for providing bearer tokens bearerMethodsSupported: - header - body - query # Allow only tokens from members of the Keycloak users group authorization: action: Allow policy: matchExpressions: - 'has(jwt.groups) && jwt.groups.exists(group, group == "users")' EOFSetting Description traffic.jwtAuthentication.providers[].issuerThe OAuth 2.0 issuer URL from your identity provider. This must exactly match the issclaim in JWT tokens. Agentgateway validates this claim to ensure tokens come from the expected identity provider.traffic.jwtAuthentication.providers[].jwks.remote.backendRefThe Keycloak service for fetching JWKS public keys. traffic.jwtAuthentication.providers[].jwks.remote.jwksPathThe path to the JWKS endpoint to obtain public keys. traffic.jwtAuthentication.providers[].audiencesThe purpose of the JWT token. This value must match the audclaim in JWT tokens.traffic.jwtAuthentication.modeThe JWT validation mode. Strict mode requires a valid JWT from one of the configured providers. traffic.jwtAuthentication.mcp.providerThe identity provider that you use. In this example, Keycloak is used. traffic.jwtAuthentication.mcp.resourceMetadataMCP OAuth resource metadata for discovery. Includes the resource identifier, supported scopes, and bearer token methods. traffic.authorization.policy.matchExpressionsCEL rules that authorize the verified JWT claims. This example requires membership in the Keycloak usersgroup.Verify that the policy was accepted.
kubectl get AgentgatewayPolicy mcp-echo-authn -o yaml
- Update the HTTPRoute that routes incoming traffic to the MCP server to include the discovery paths for the MCP resource and authorization server. This way, the agentgateway proxy can retrieve the resource and authorization server metadata during the MCP auth flow.
kubectl apply -f - <<EOF
apiVersion: gateway.networking.k8s.io/v1
kind: HTTPRoute
metadata:
  name: mcp
spec:
  # Reference the Agentgateway
  parentRefs:
  - group: gateway.networking.k8s.io
    kind: Gateway
    name: agentgateway-proxy
    namespace: agentgateway-system
  rules:
  - filters:
     # Enable CORS for browser-based MCP clients
      - type: CORS
        cors:
          allowCredentials: true
          allowHeaders:
            - Origin
            - Authorization
            - Content-Type
          allowMethods:
            - "*"
          allowOrigins:
            - "*"
          exposeHeaders:
            - Origin
            - X-HTTPRoute-Header
          maxAge: 86400
    # Route to the MCP backend
    backendRefs:
    - group: agentgateway.dev
      kind: AgentgatewayBackend
      name: mcp-backend
    # Match MCP and OAuth discovery paths
    matches:
    # Main MCP endpoint to connect to the MCP server
    - path:
        type: PathPrefix
        value: /mcp
    # Path to access resource server metadata
    - path:
        type: PathPrefix
        value: /.well-known/oauth-protected-resource/mcp
    # Path to access authorization server metadata
    - path:
        type: PathPrefix
        value: /.well-known/oauth-authorization-server/mcp
    # JWKS endpoint for token validation
    - path:
        type: PathPrefix
        value: /realms/master/protocol/openid-connect/certs
EOF
Verify MCP auth
Open the MCP inspector.
npx @modelcontextprotocol/inspector@0.21.2From the MCP Inspector menu, connect to your agentgateway address as follows:
- Transport Type: Select
Streamable HTTP. - URL: Enter the agentgateway address, port, and the /mcp path. If your agentgateway proxy is exposed with a LoadBalancer server, use
http://${INGRESS_GW_ADDRESS}/mcp. In local test setups where you port-forwarded the agentgateway proxy on your local machine, usehttp://localhost:8080/mcp. - Click Connect.
Verify that the connection fails, because authentication is required to access the MCP server.
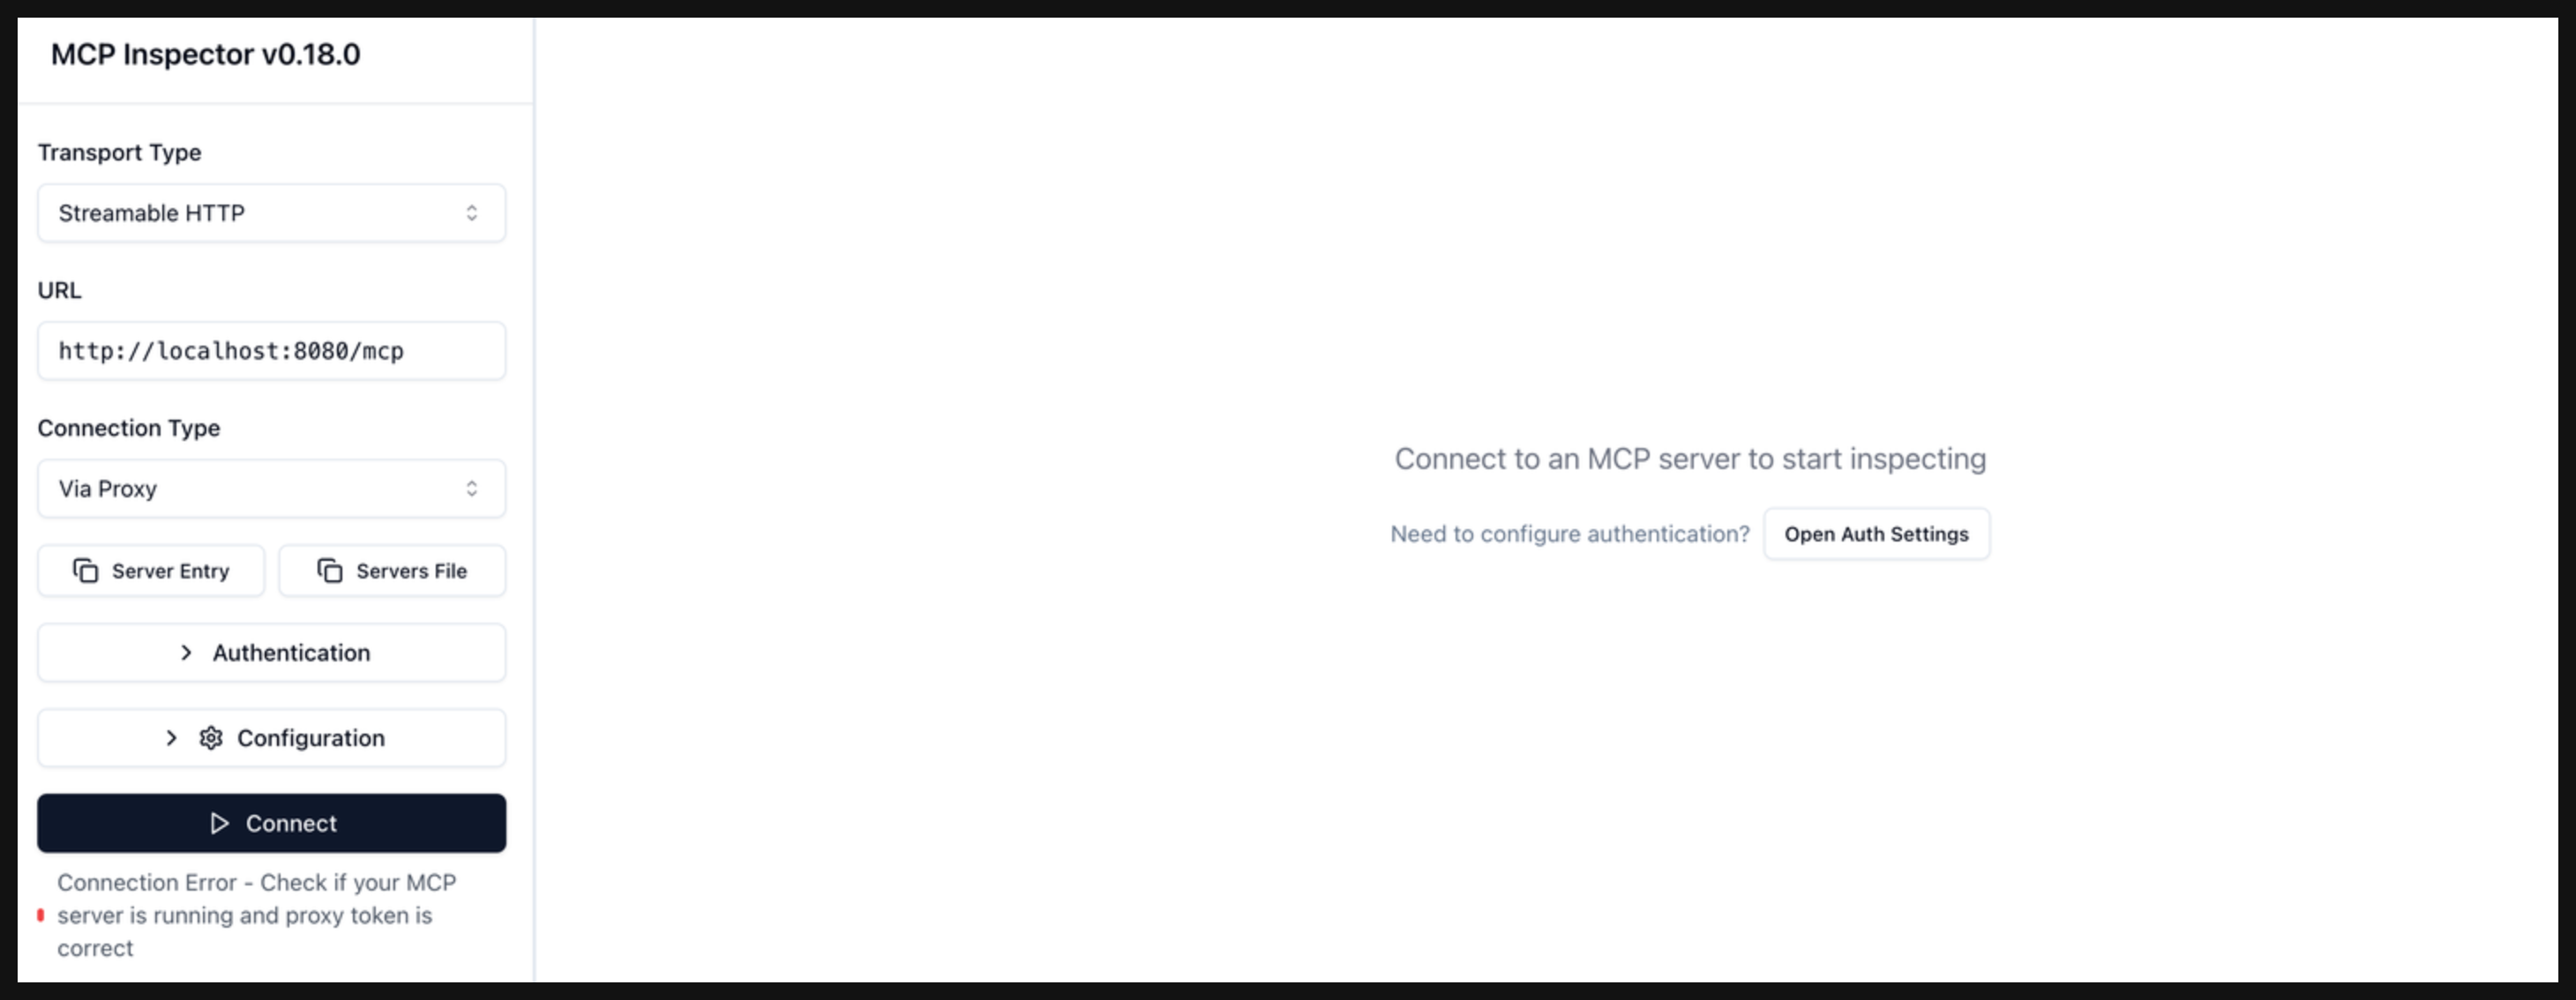
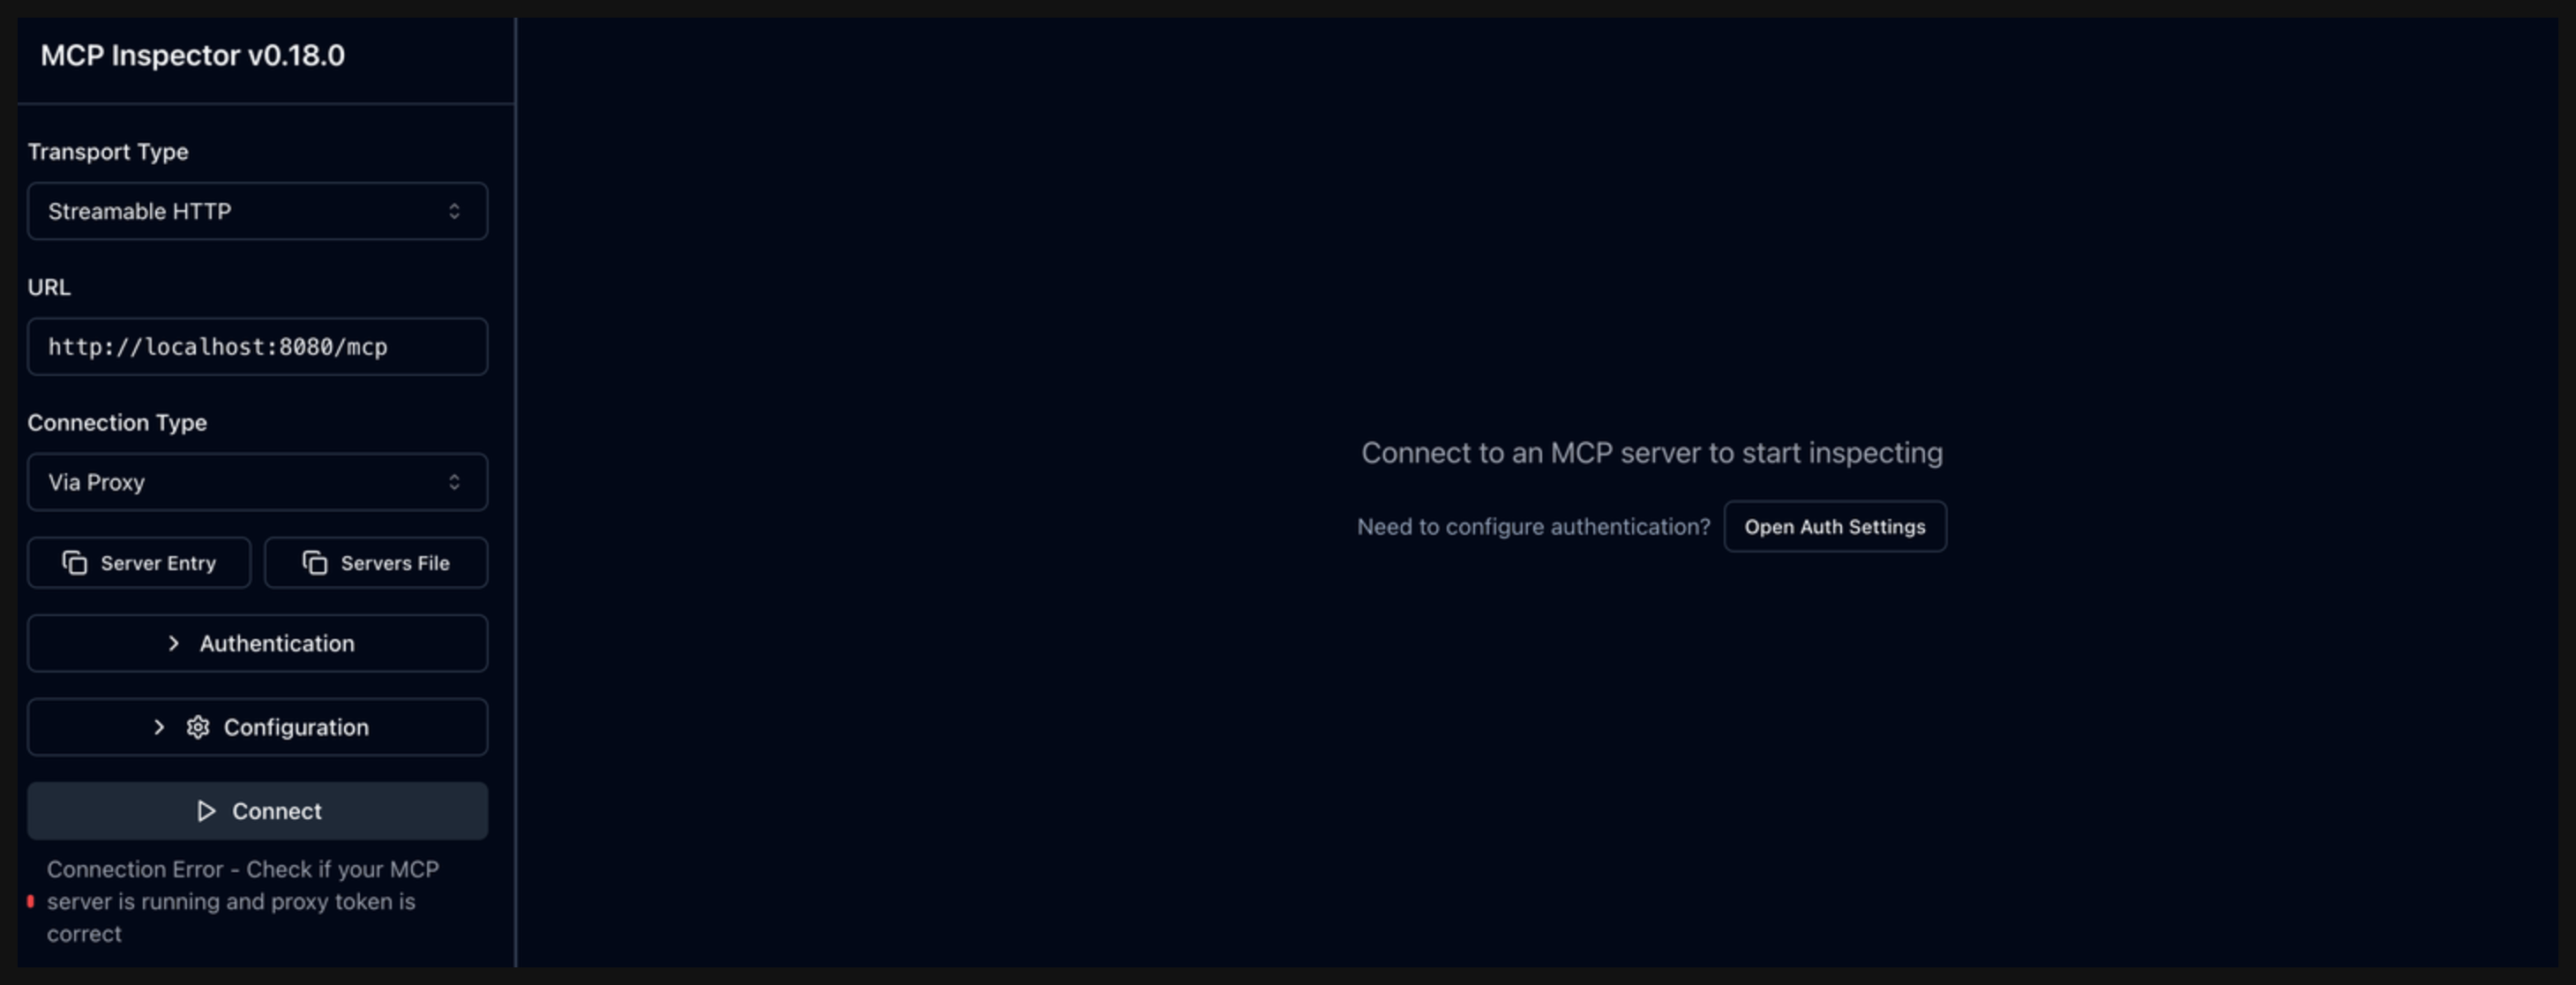
- Transport Type: Select
Click Open Auth Settings to run through the MCP Auth flow that you configured with the agentgateway proxy.
Run through the auth flow. You can decide to manually run through the auth flow or select Quick OAuth Flow to automatically run through all the auth steps automatically. This guide assumes that you run through the auth flow manually.
In the OAuth Flow Progress card, click Continue to start the Metadata Discovery phase. Verify that the step succeeds and that you see the authorization server metadata. The metadata include information about the location of the authorization server, supported scopes, and ways to provide the bearer token.
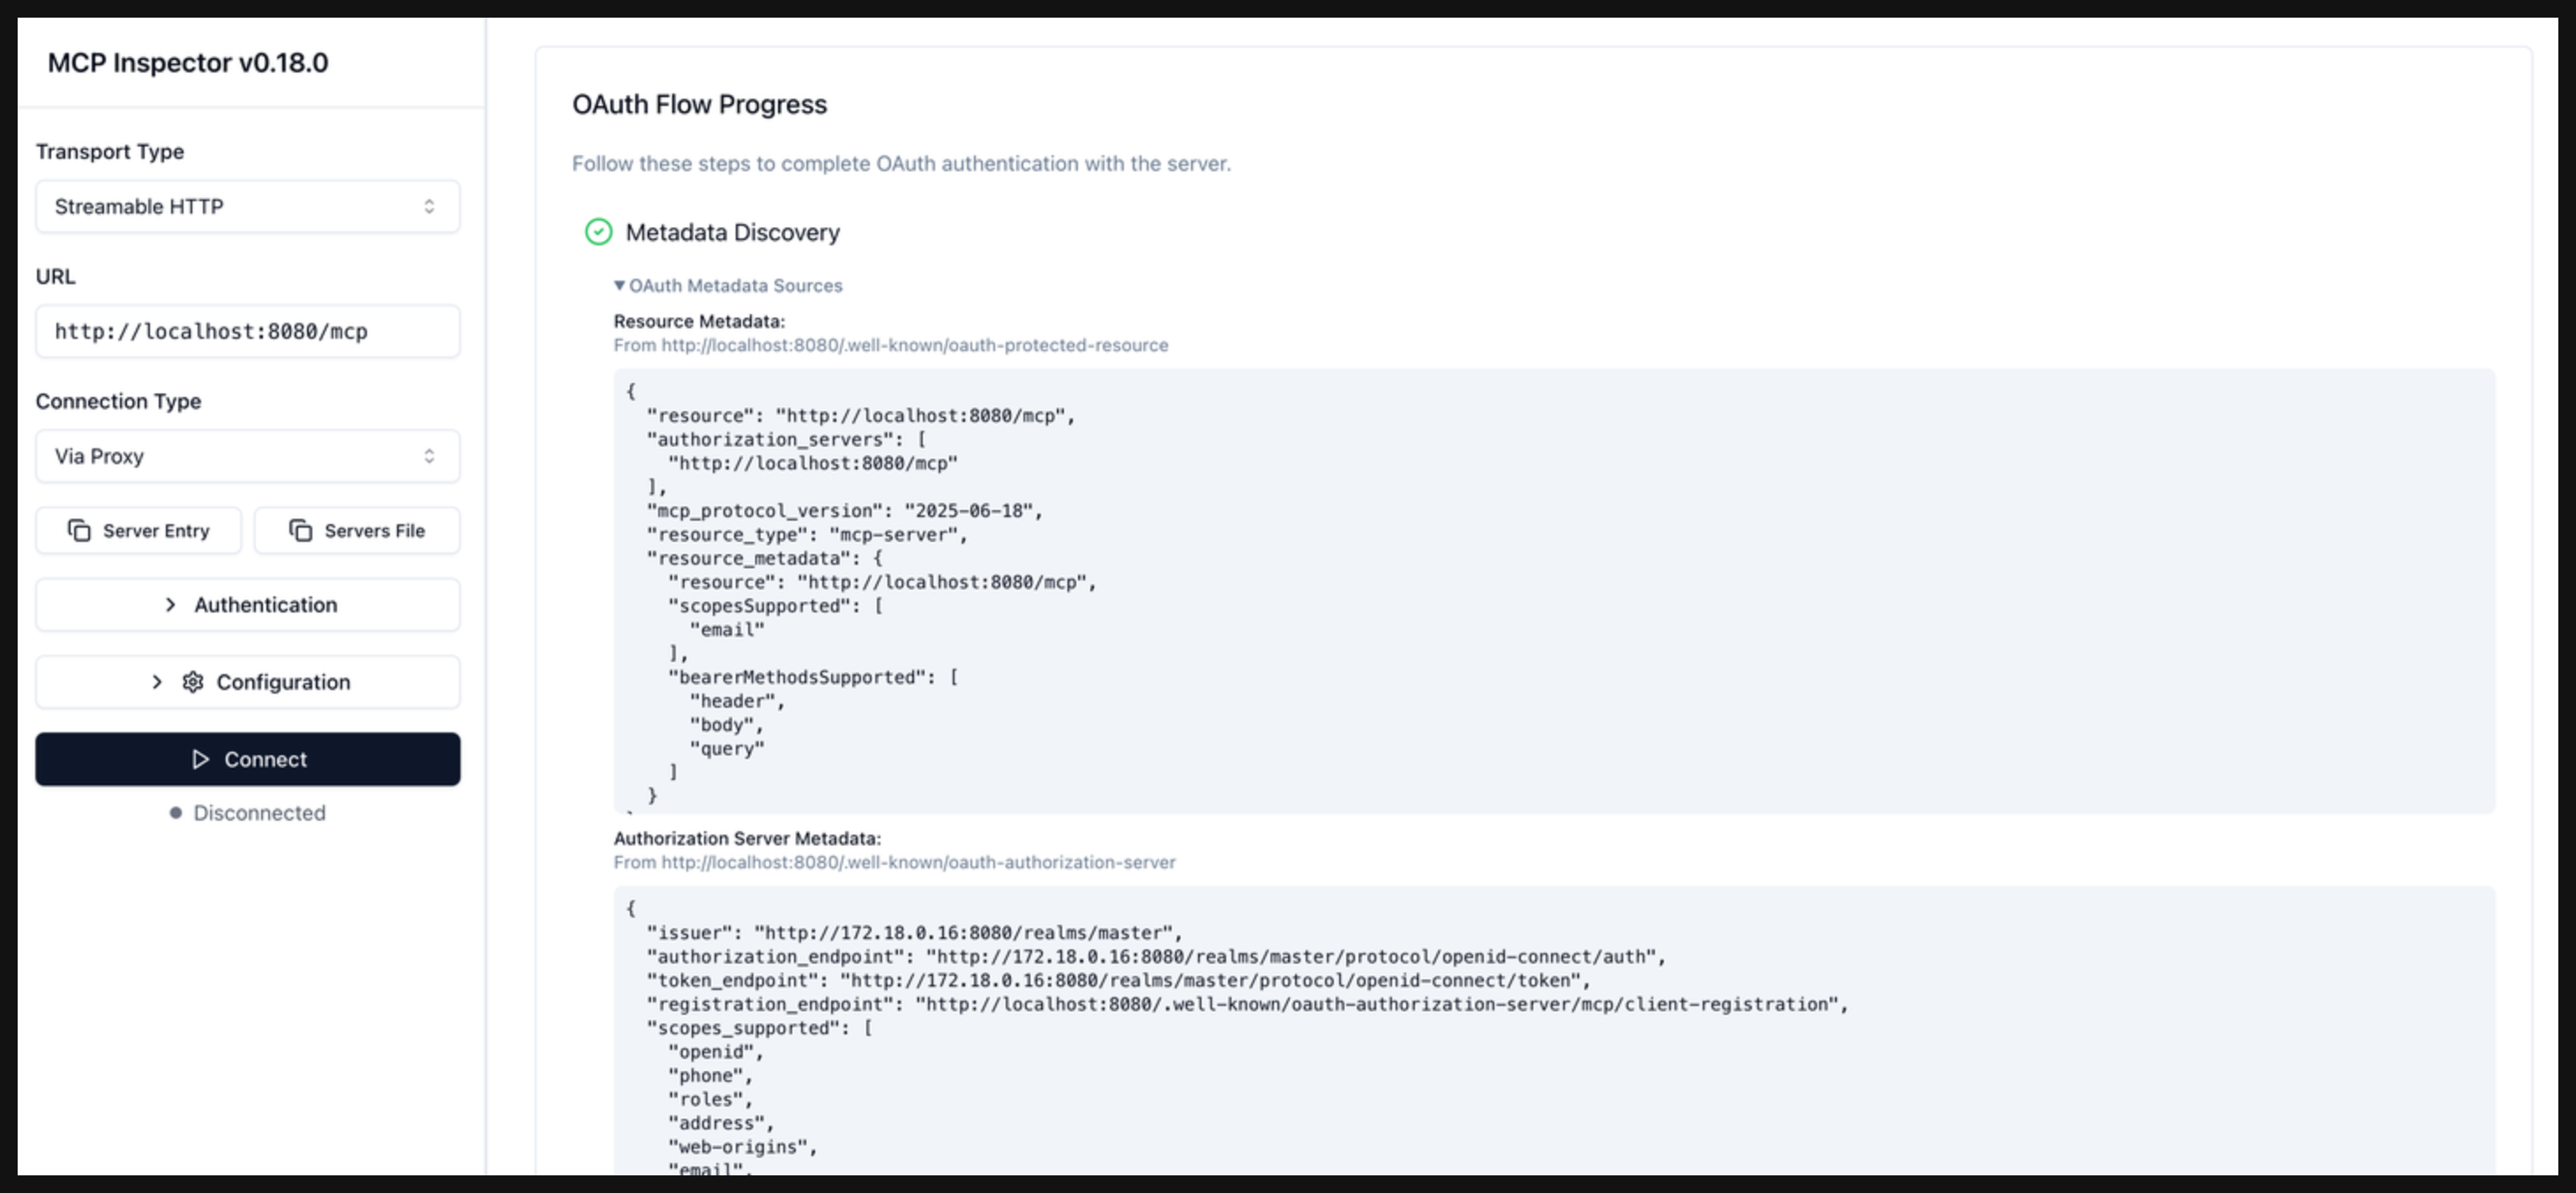
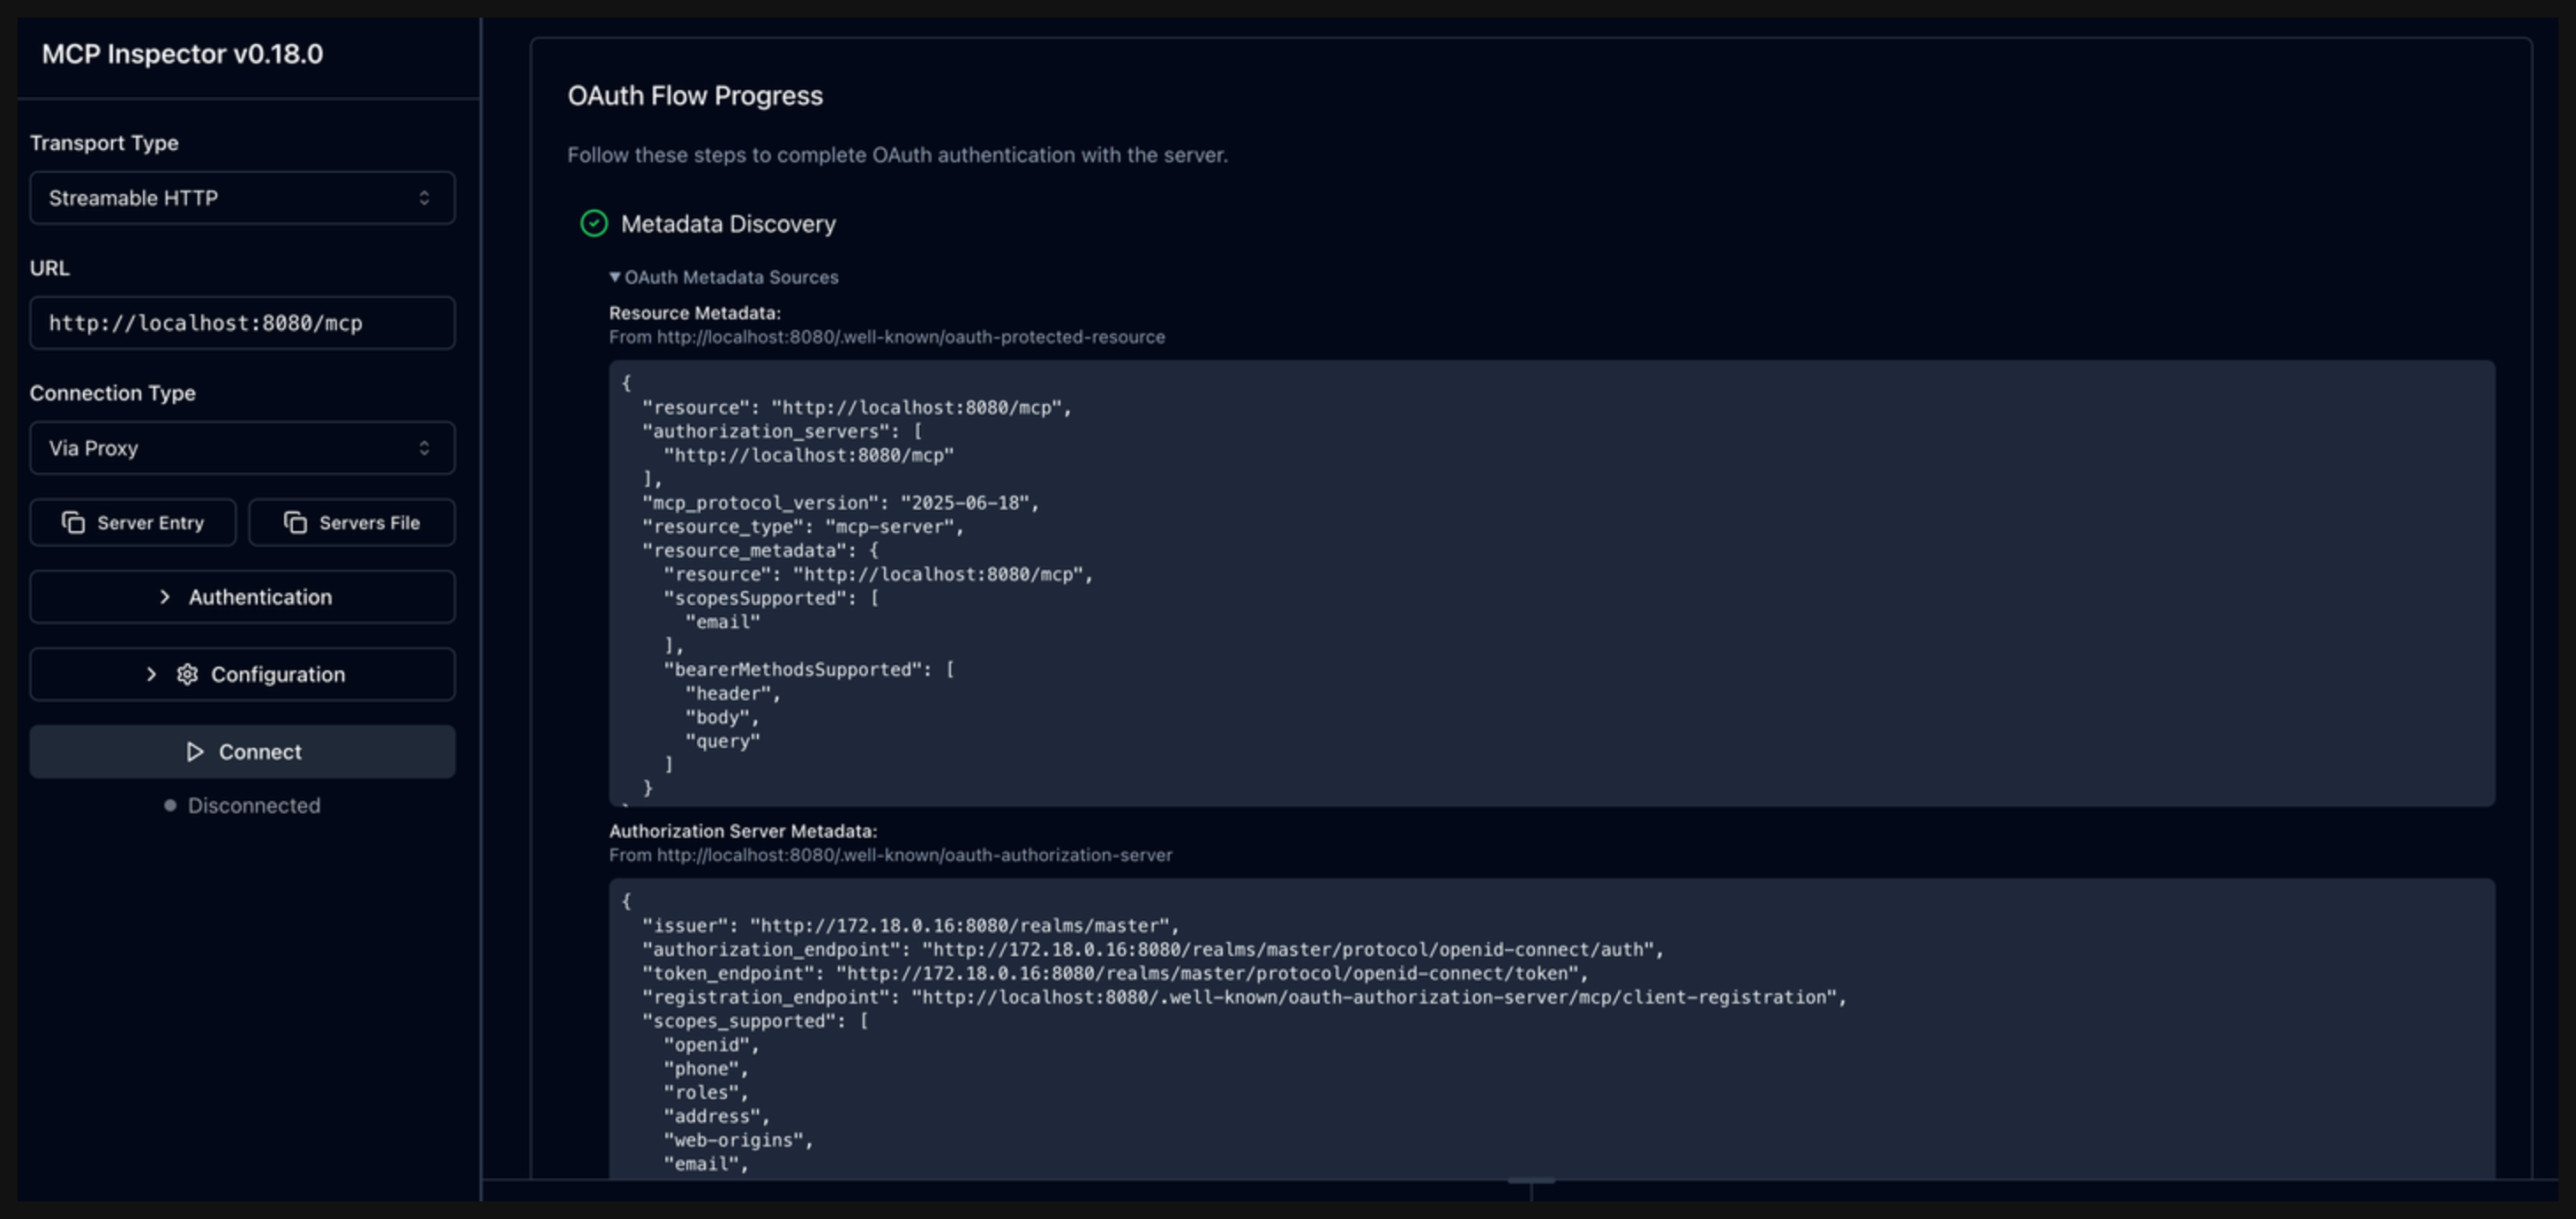
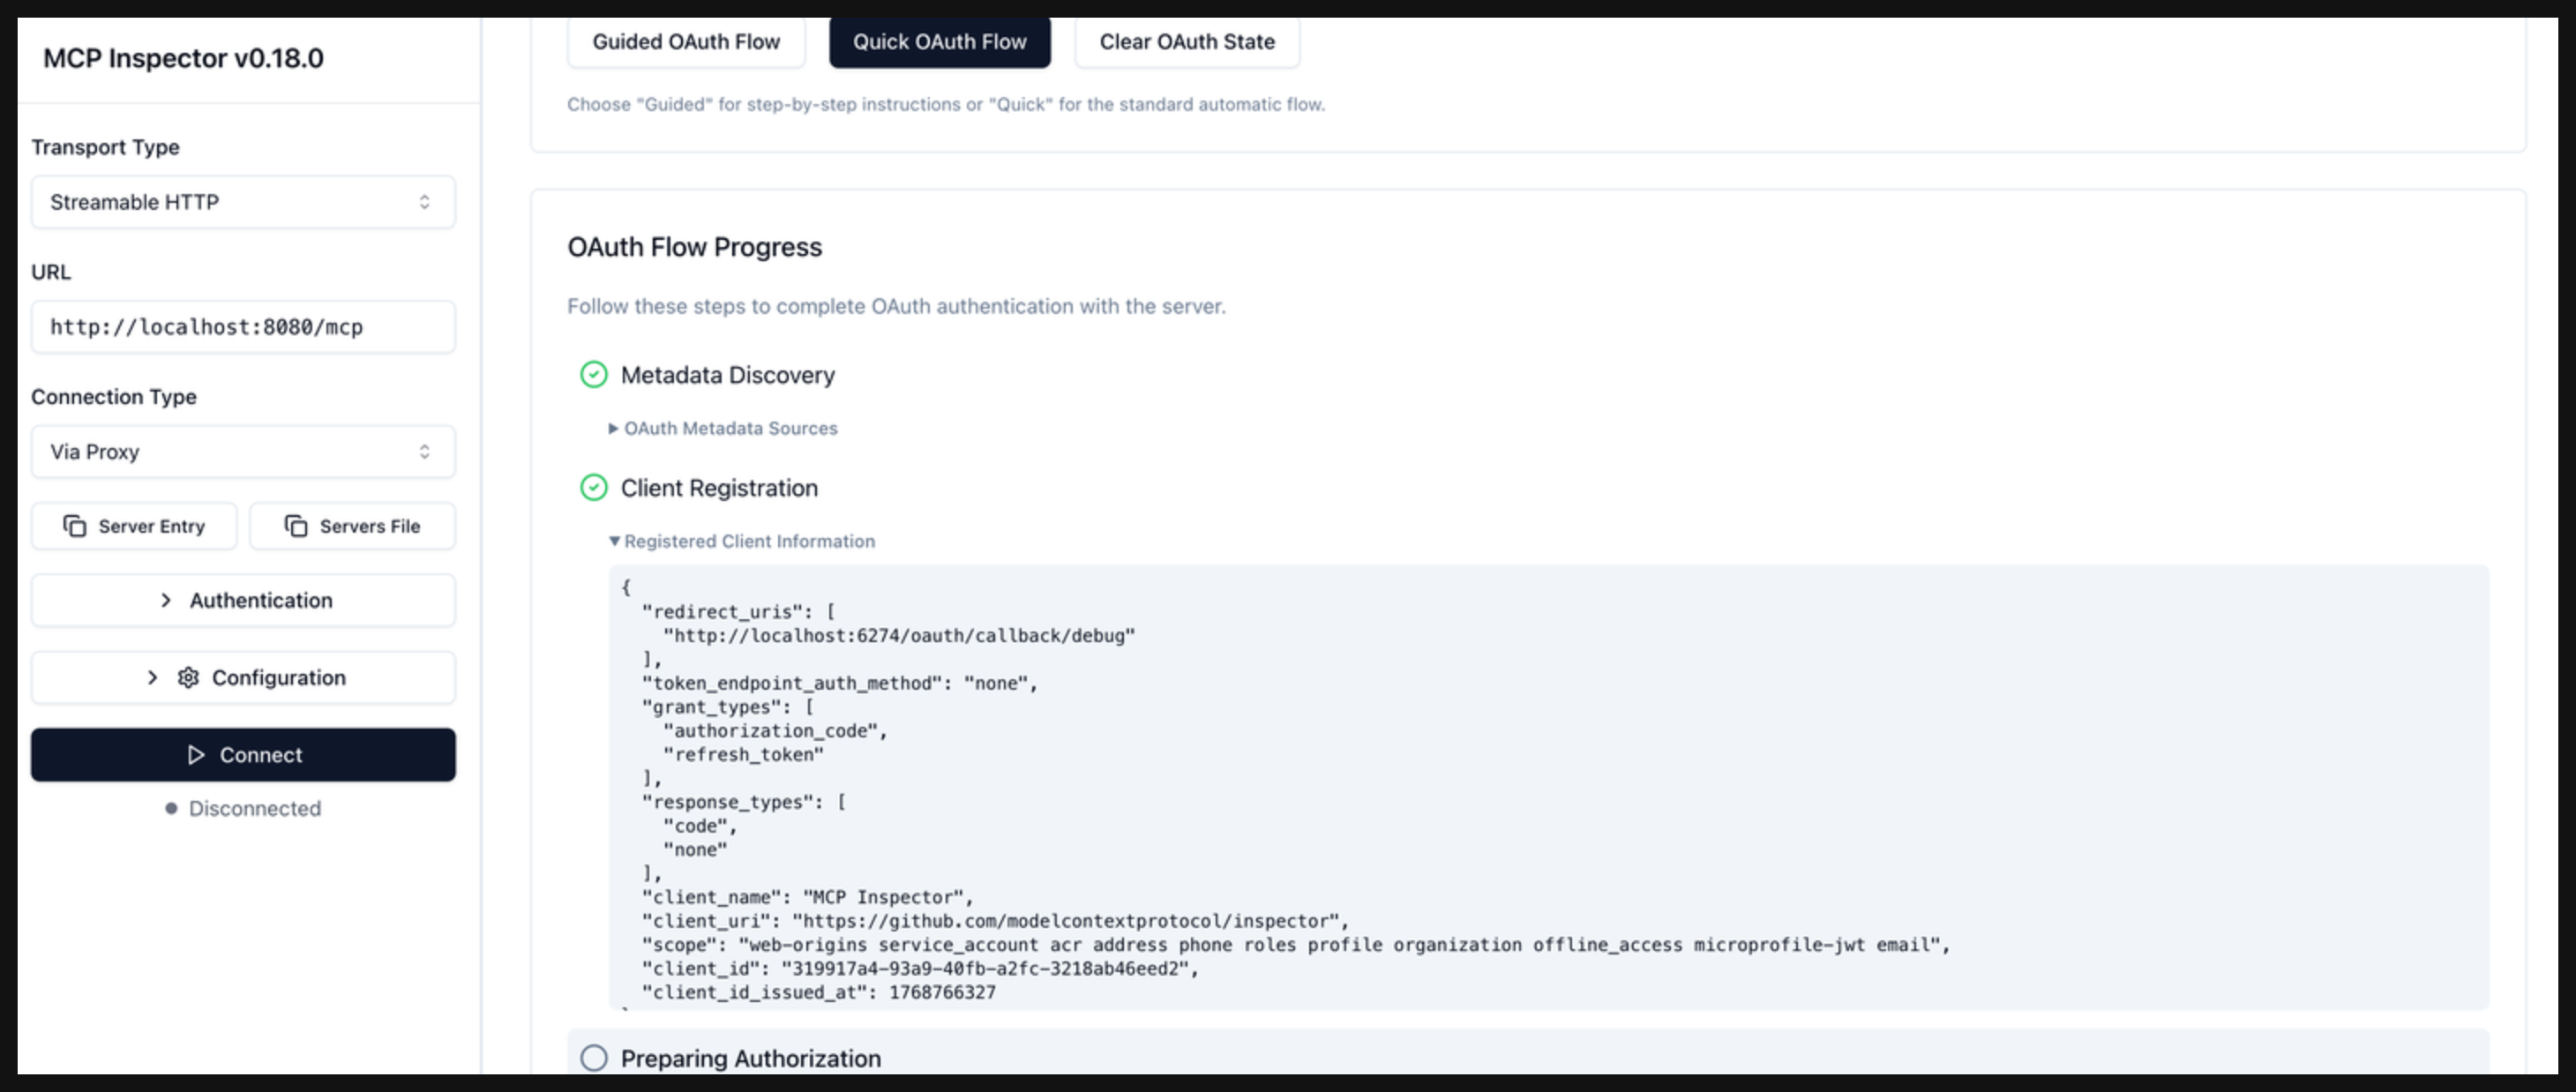
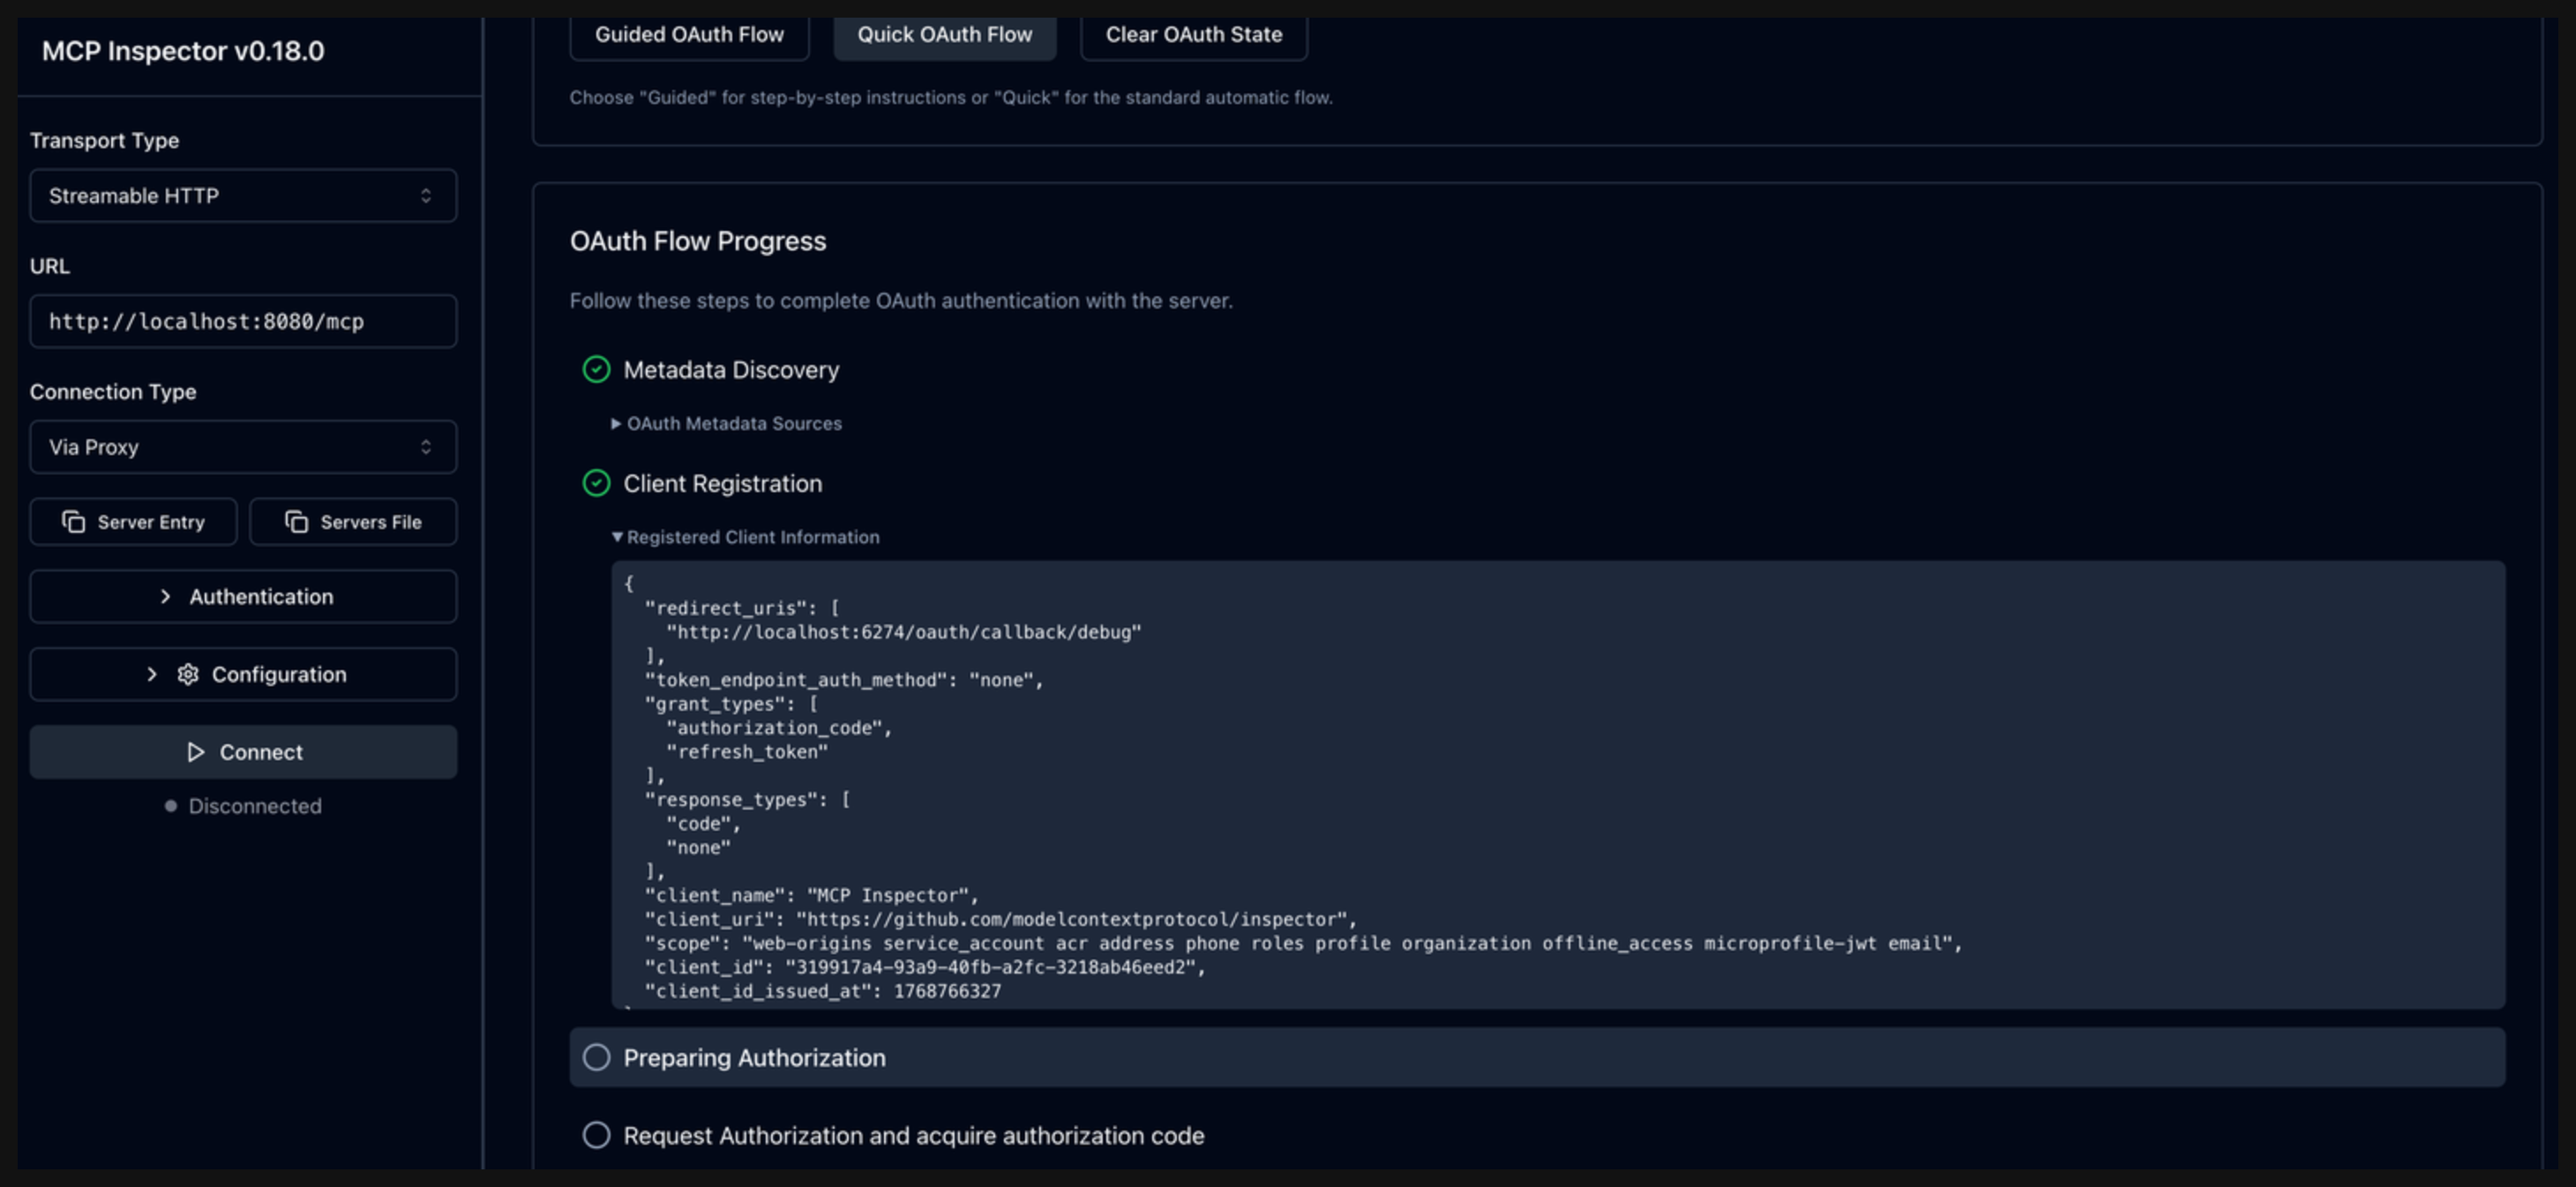
Click Continue to start the Client registration phase. Verify that the MCP inspector tool successfully registered as a client in Keycloak and is assigned a client ID.
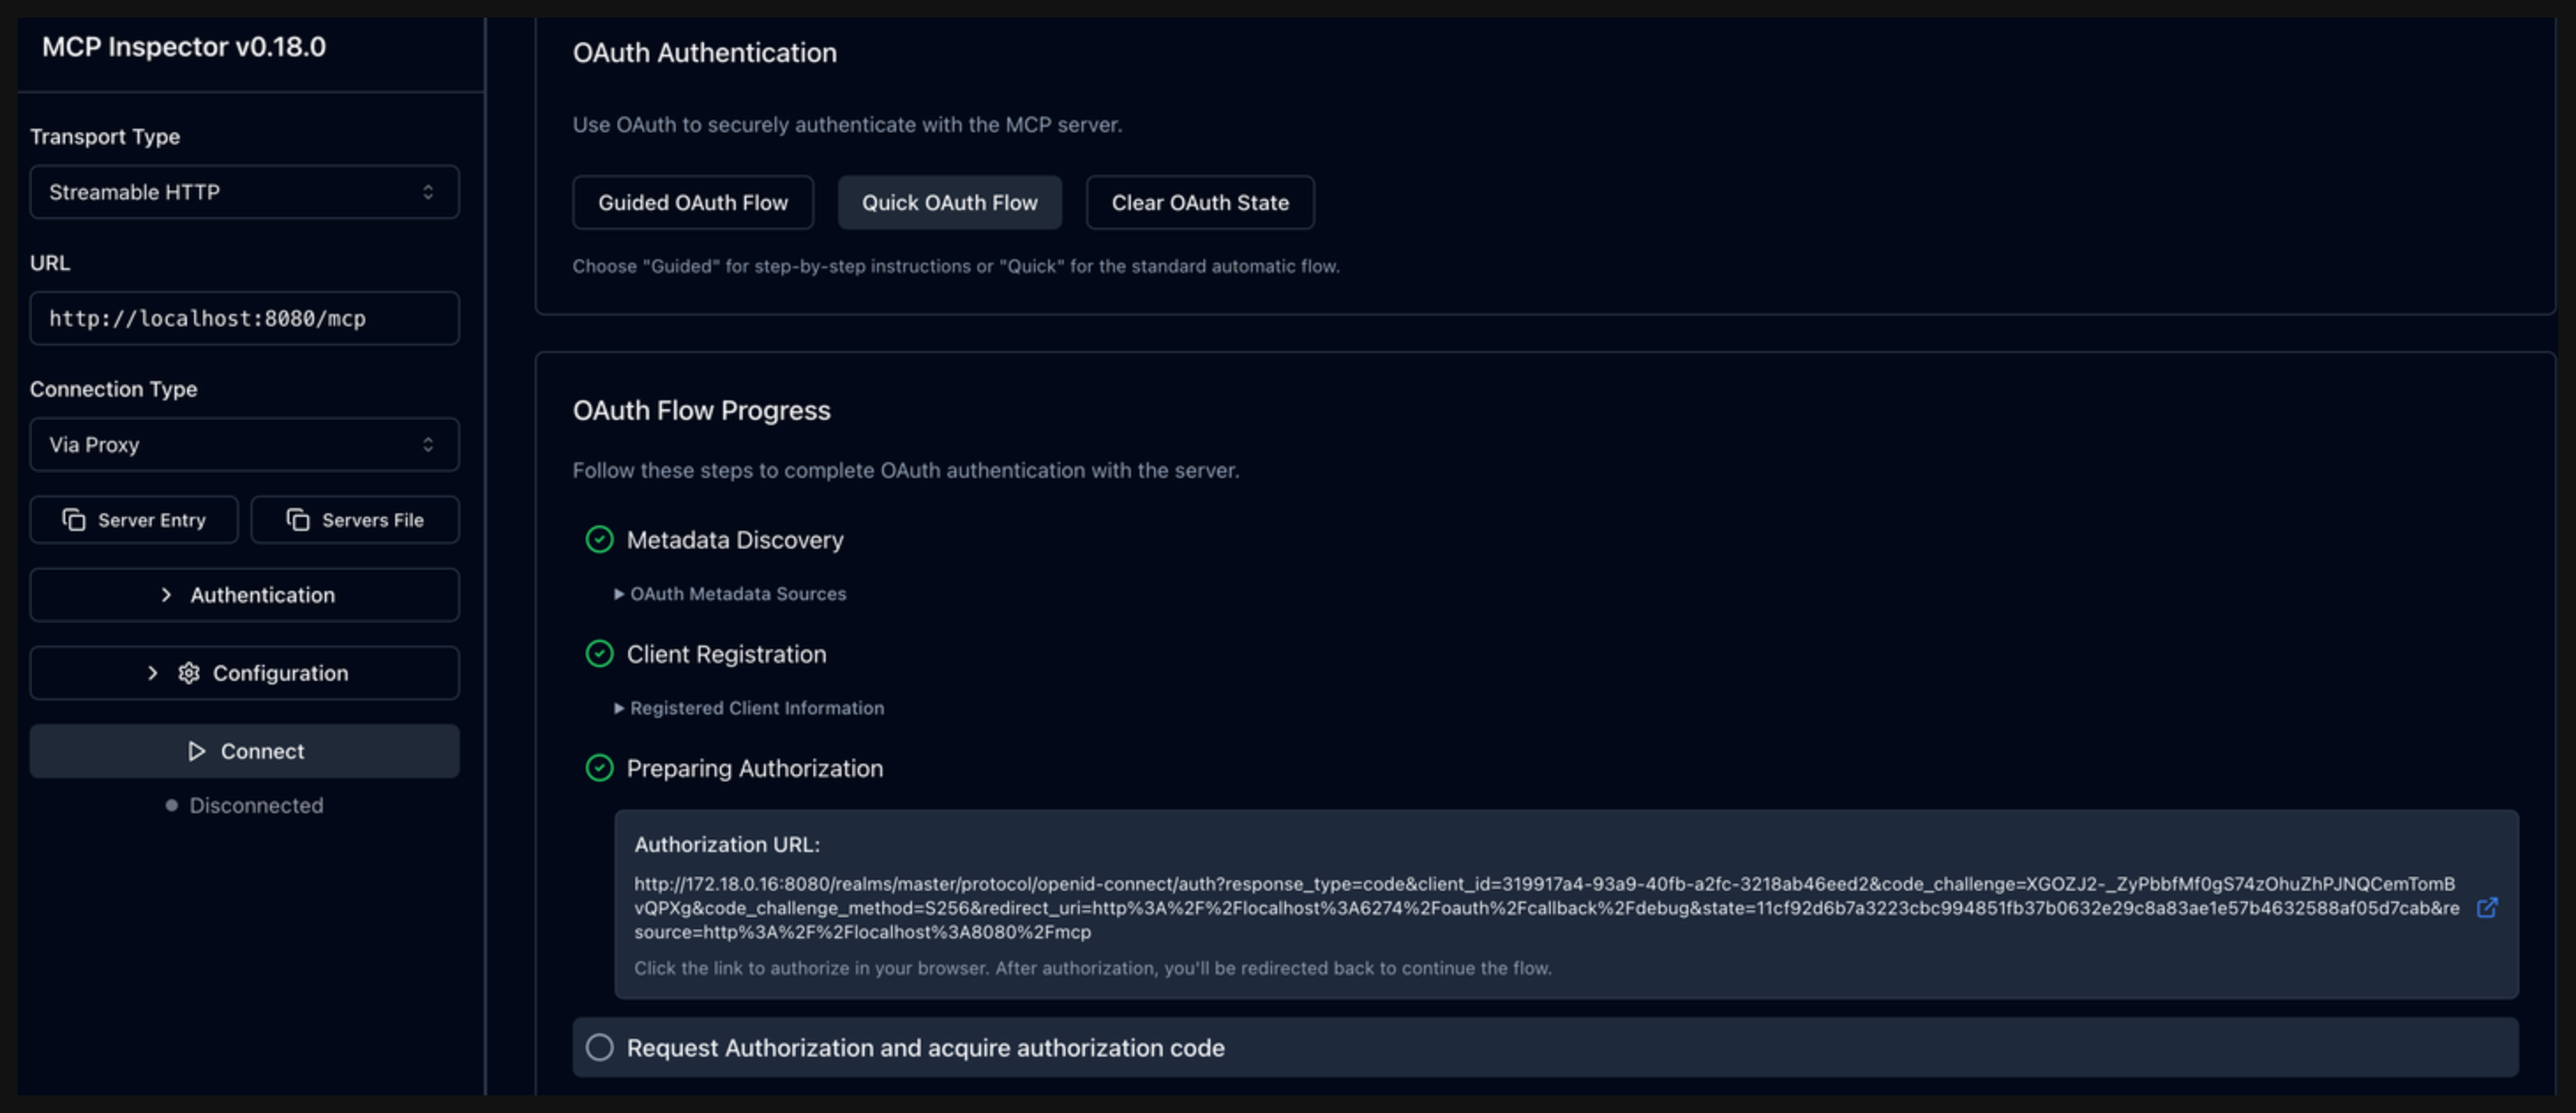
Click Continue to start the Preparing Authorization phase. Verify that you get back a URL to log in to Keycloak with your credentials. Open the link in your browser and log in with the user
user1and passwordpassword.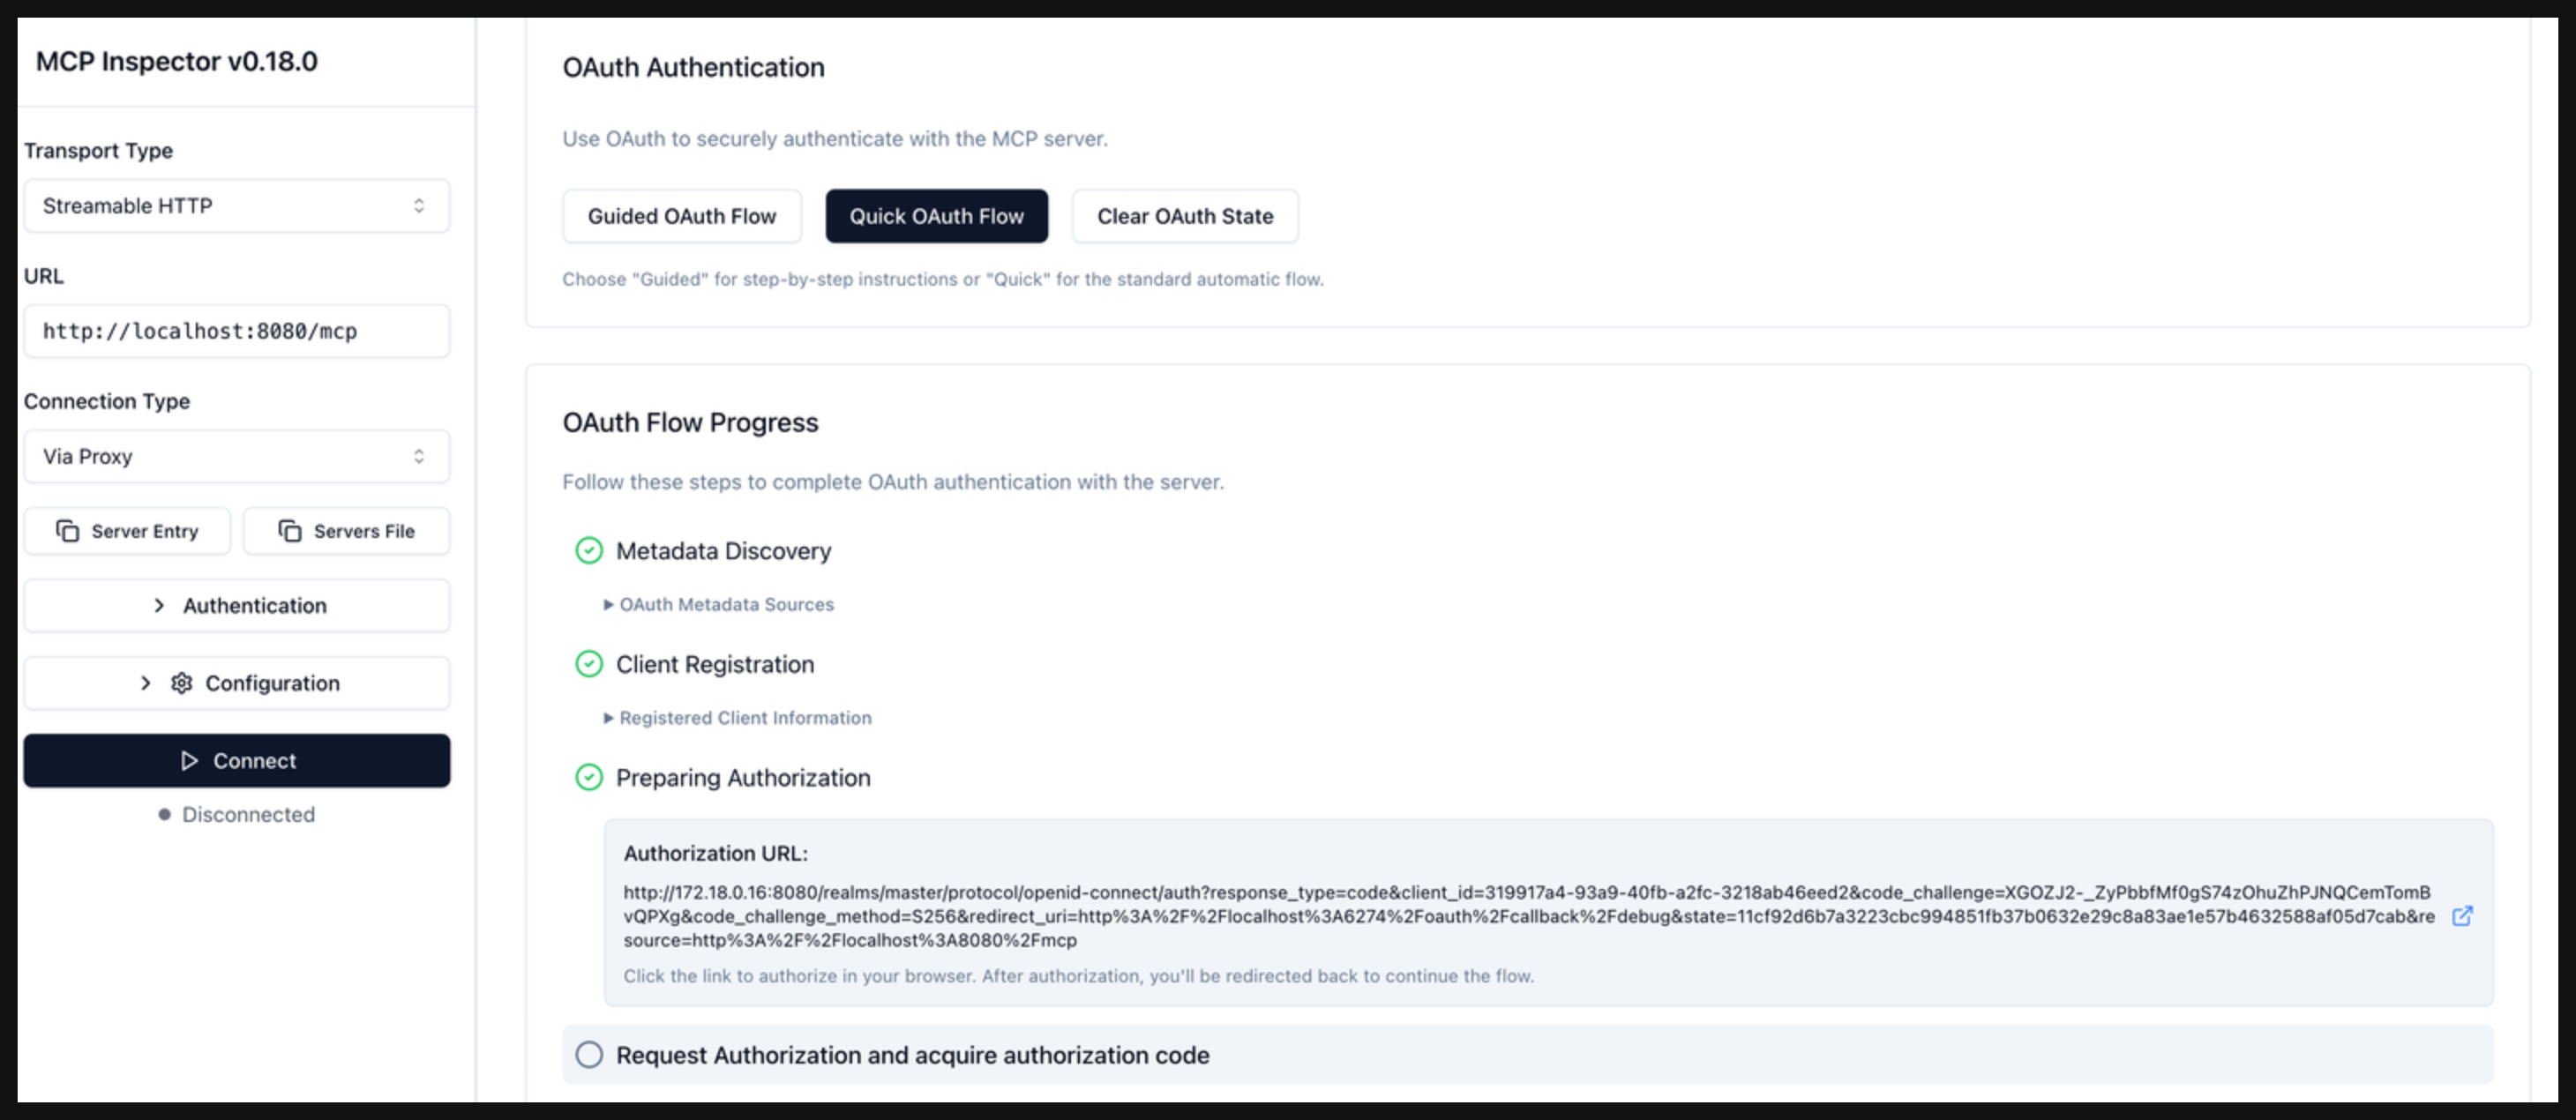
After you log in to Keycloak, an authorization code is displayed. Copy the authorization code and continue with the next step.
Copy the authorization code into the Authorization Code field in the MCP inspector. Then, click Continue to start the Request Authorization and acquire authorization code phase.
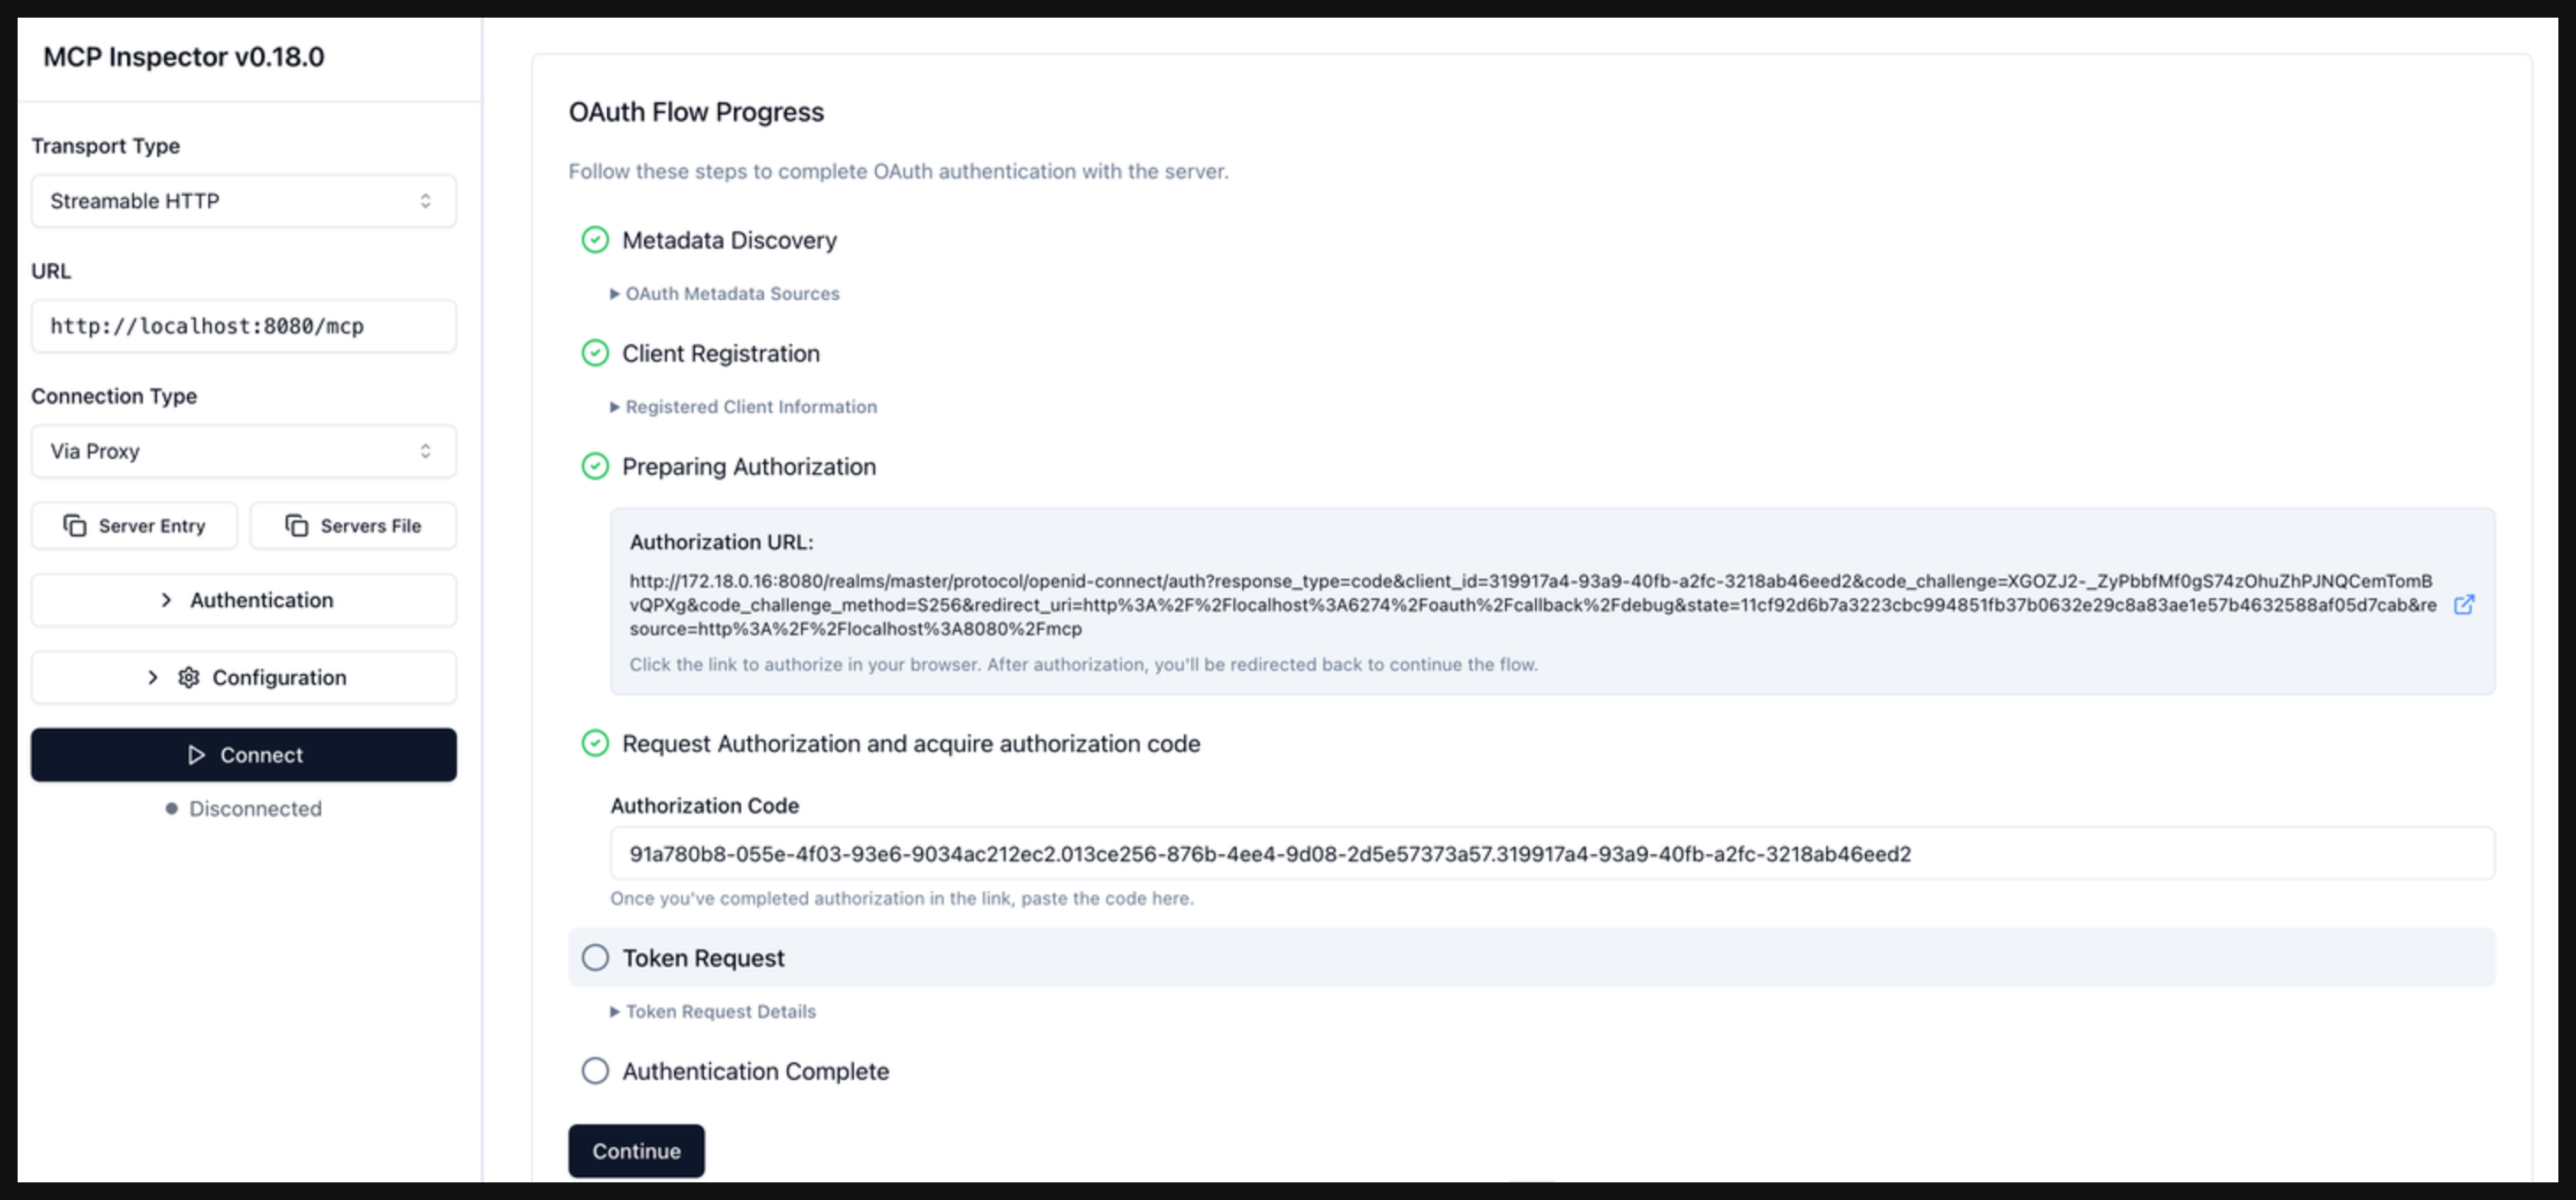
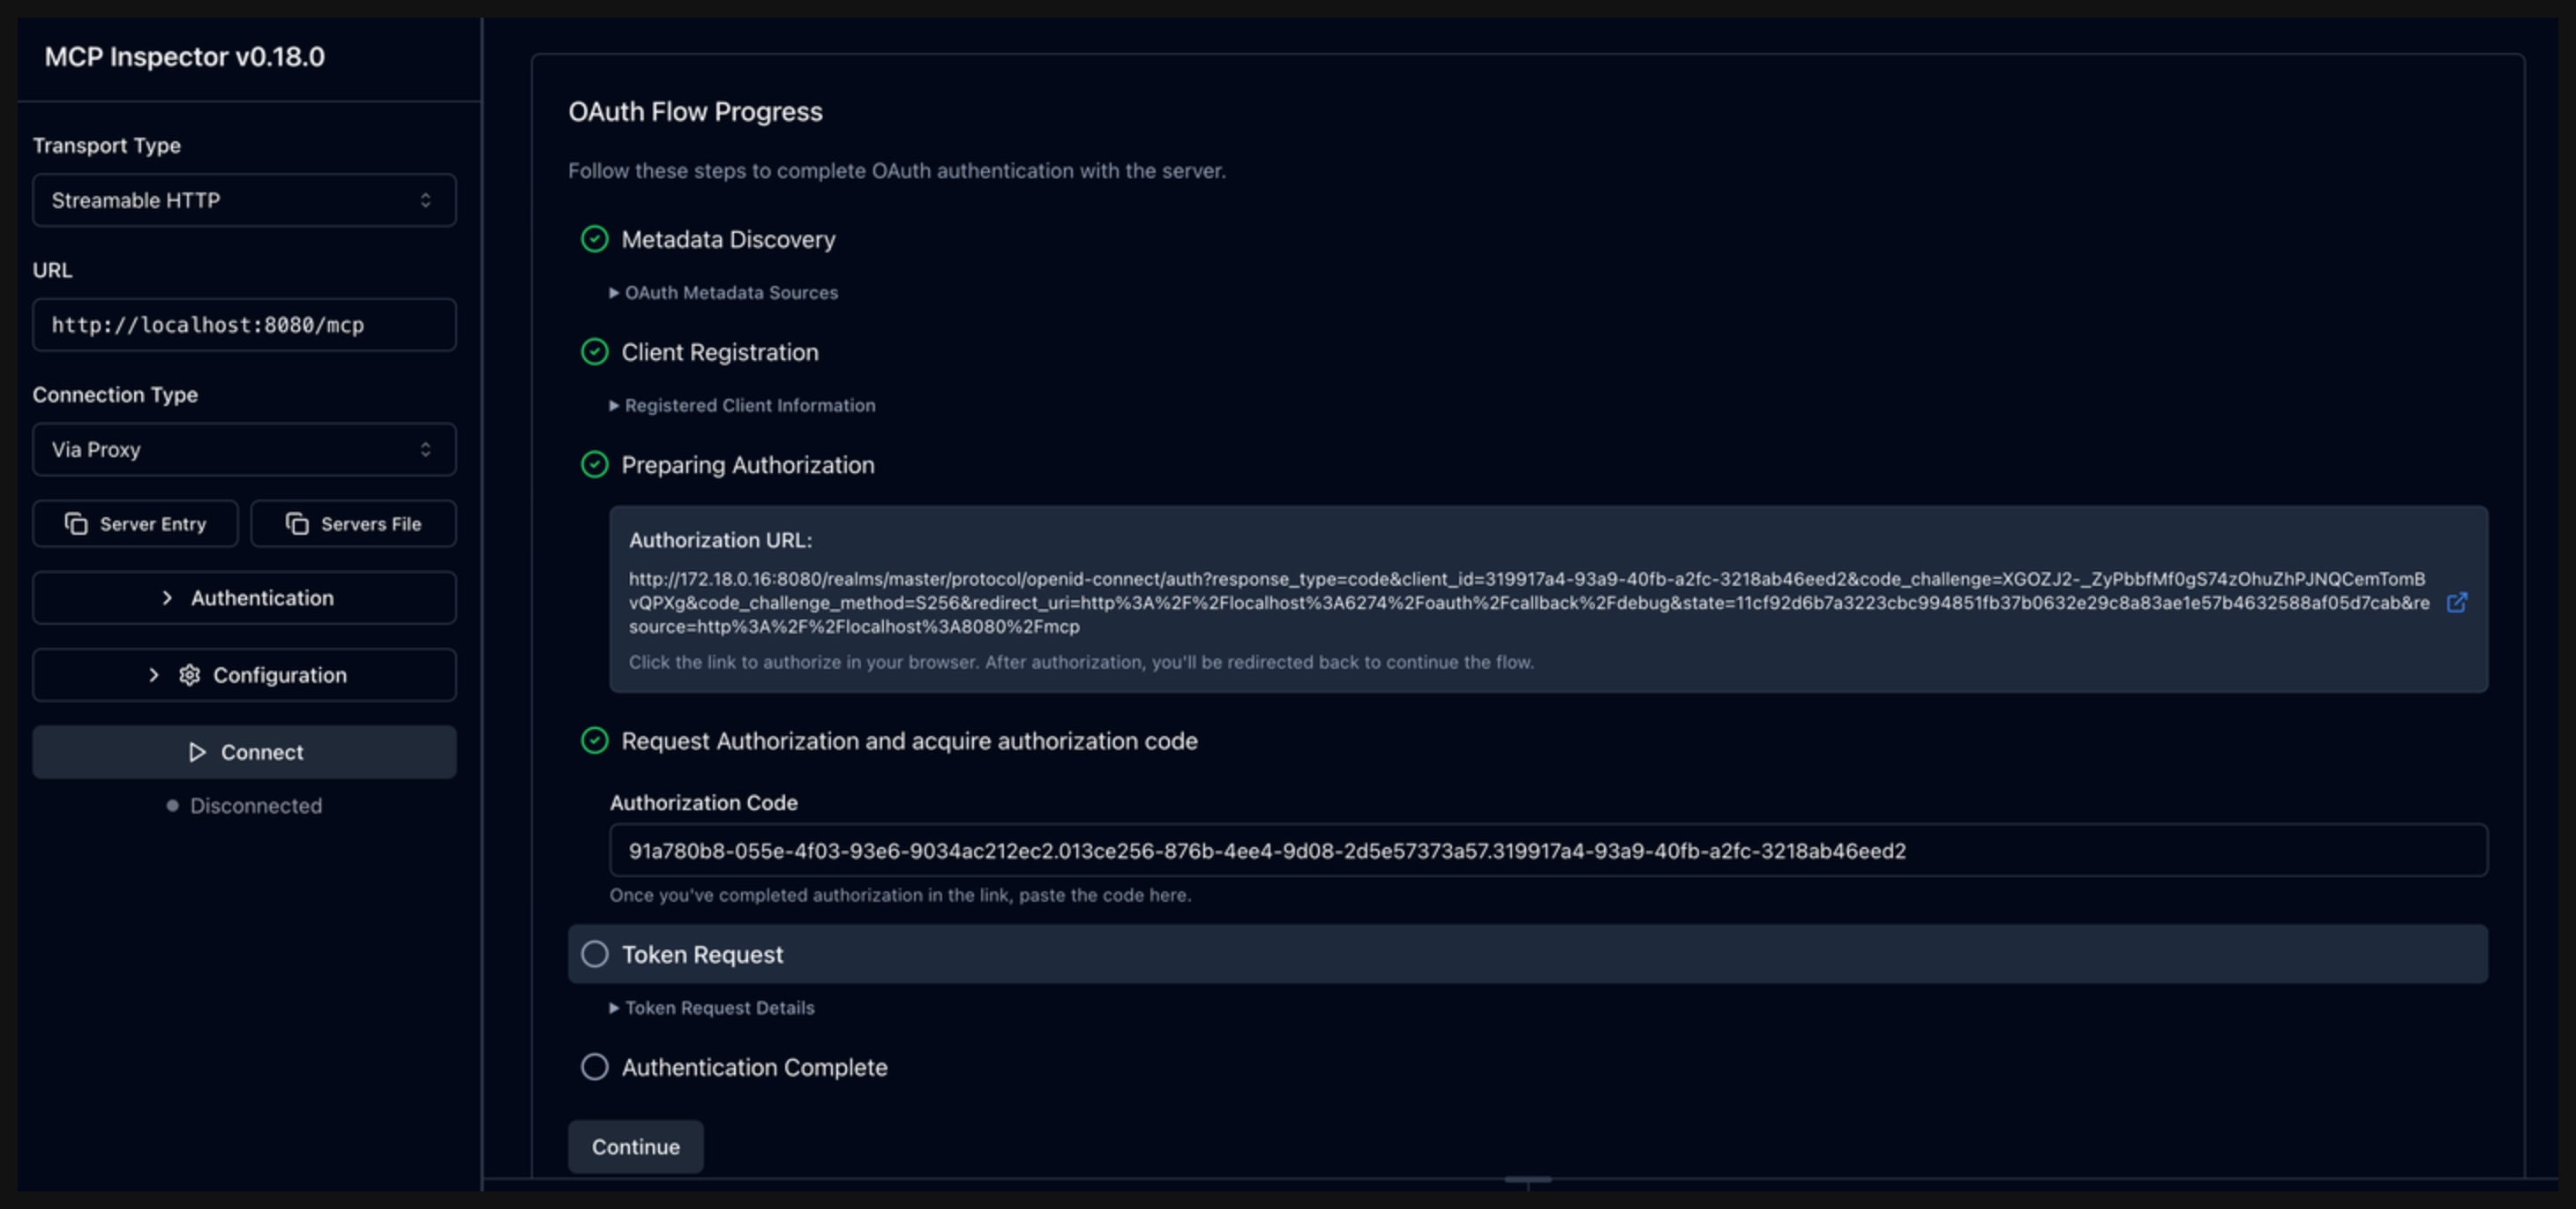
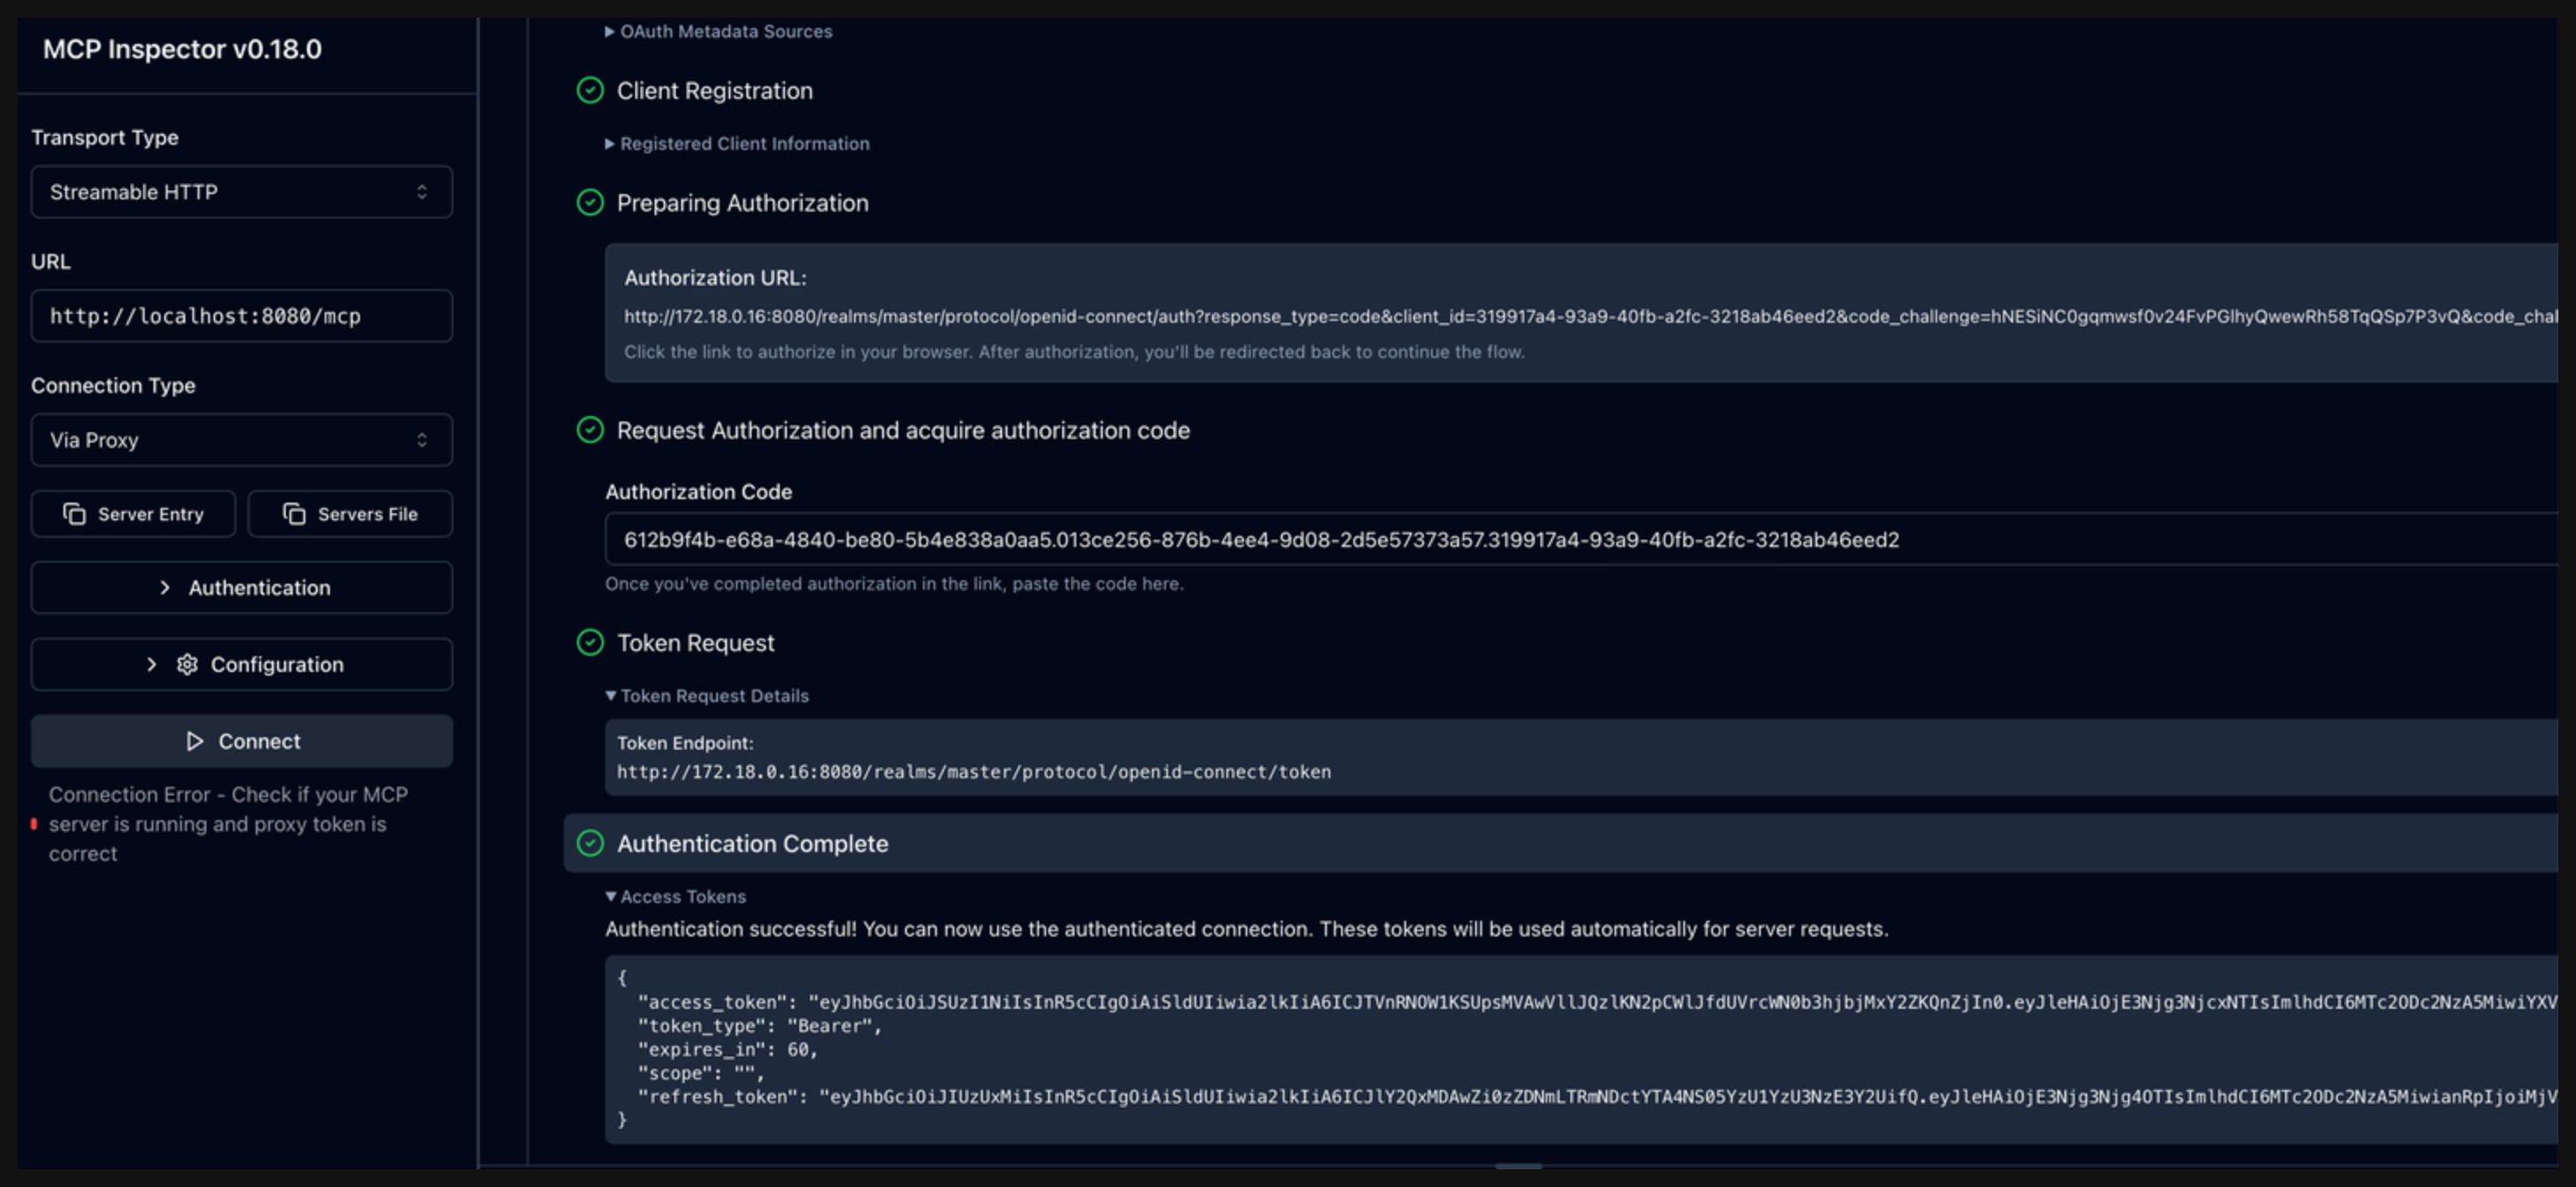
Click Continue to start the Token Request phase. Verify that the Authentication Complete phase returns a token from Keycloak. The access token includes the MCP resource in
audand theusersgroup ingroups.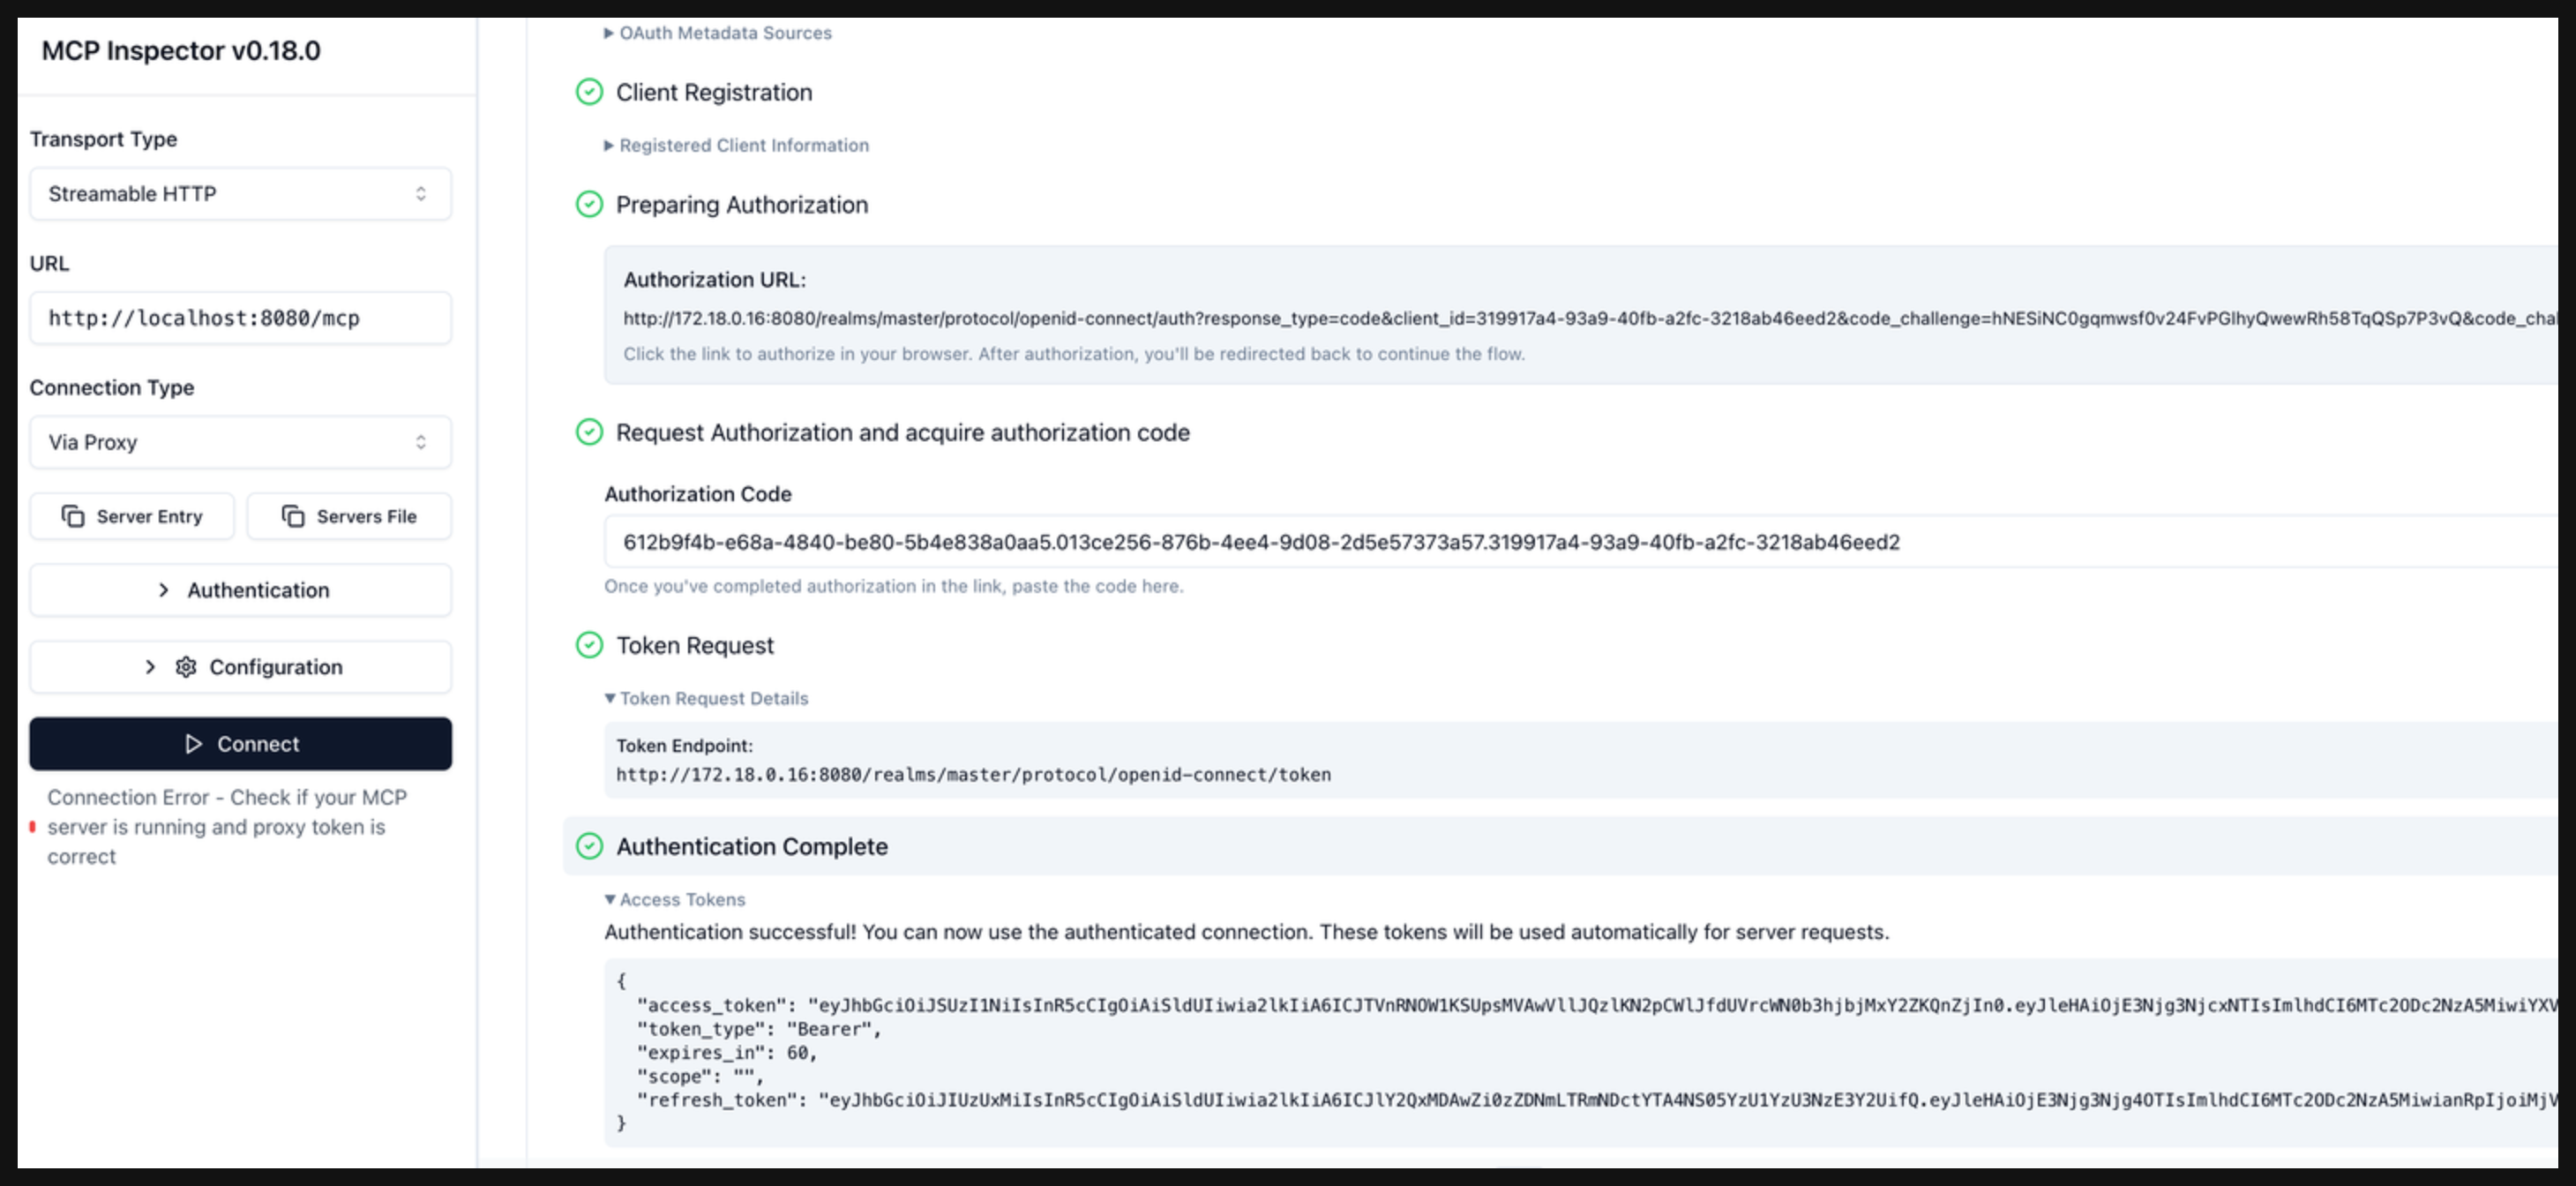
Connect to your MCP server.
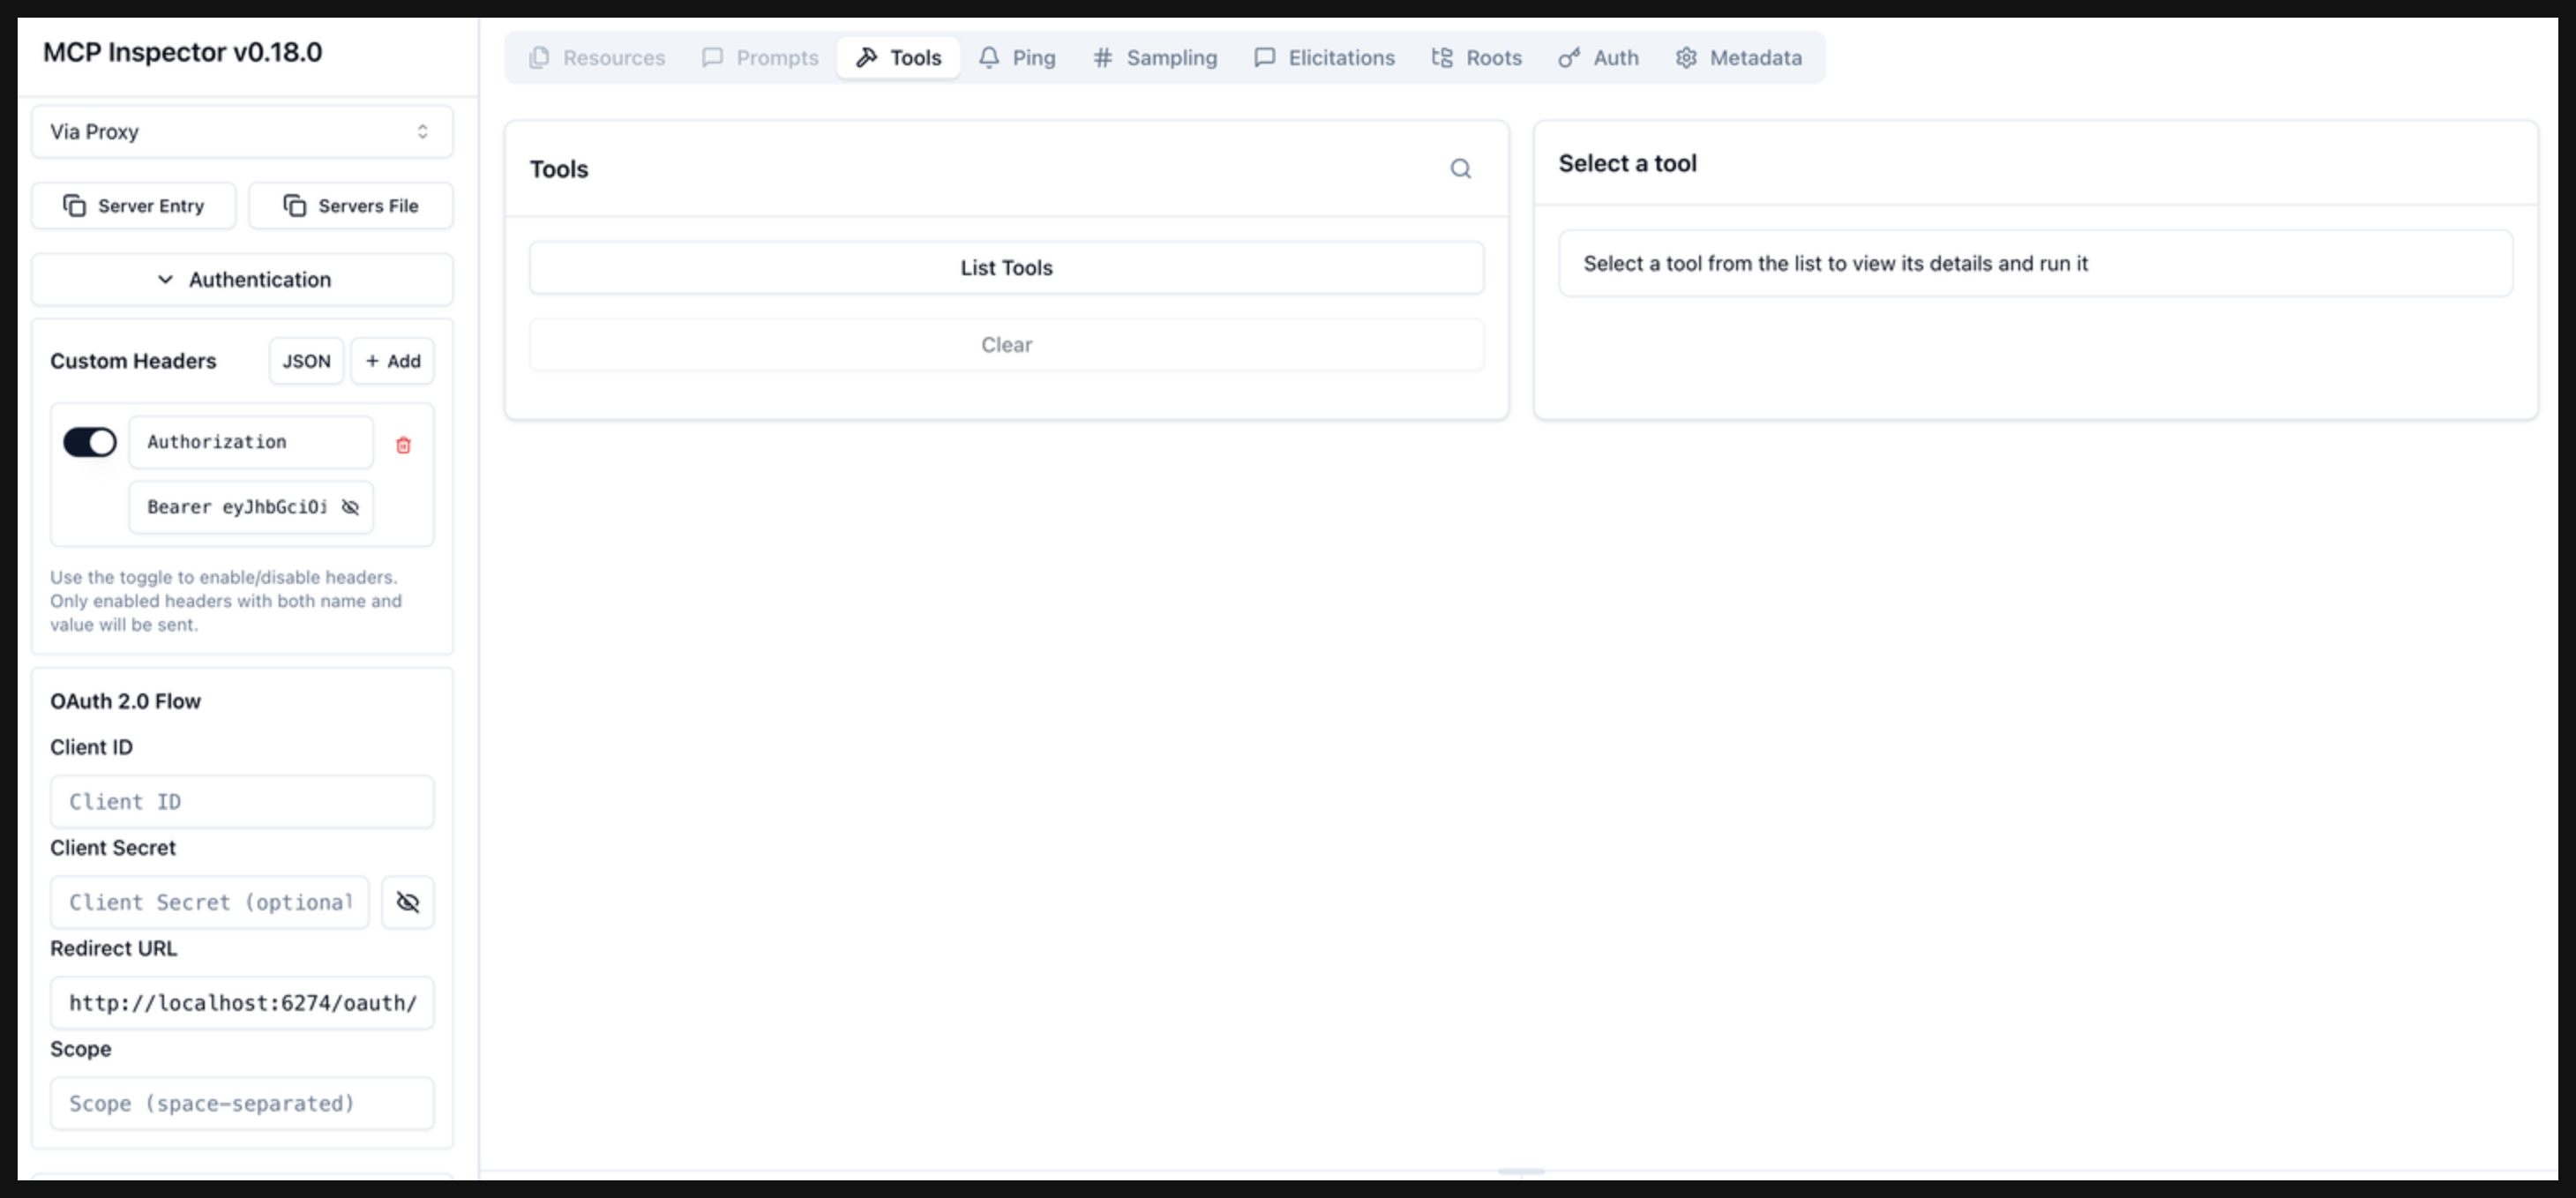
- Copy the
access_tokenvalue from the Authentication Complete phase. - Open the Authentication section in the MCP inspector.
- In the Custom Headers card, click Add.
- Add the following values:
- header name:
Authorization - header value:
Bearer <value of access_token>
- header name:
- Click Connect to connect to your MCP server.
- Copy the
Verify that tool calls work without re-authentication. Because the client authenticates at connect time, tool calls succeed immediately without any additional login prompts.
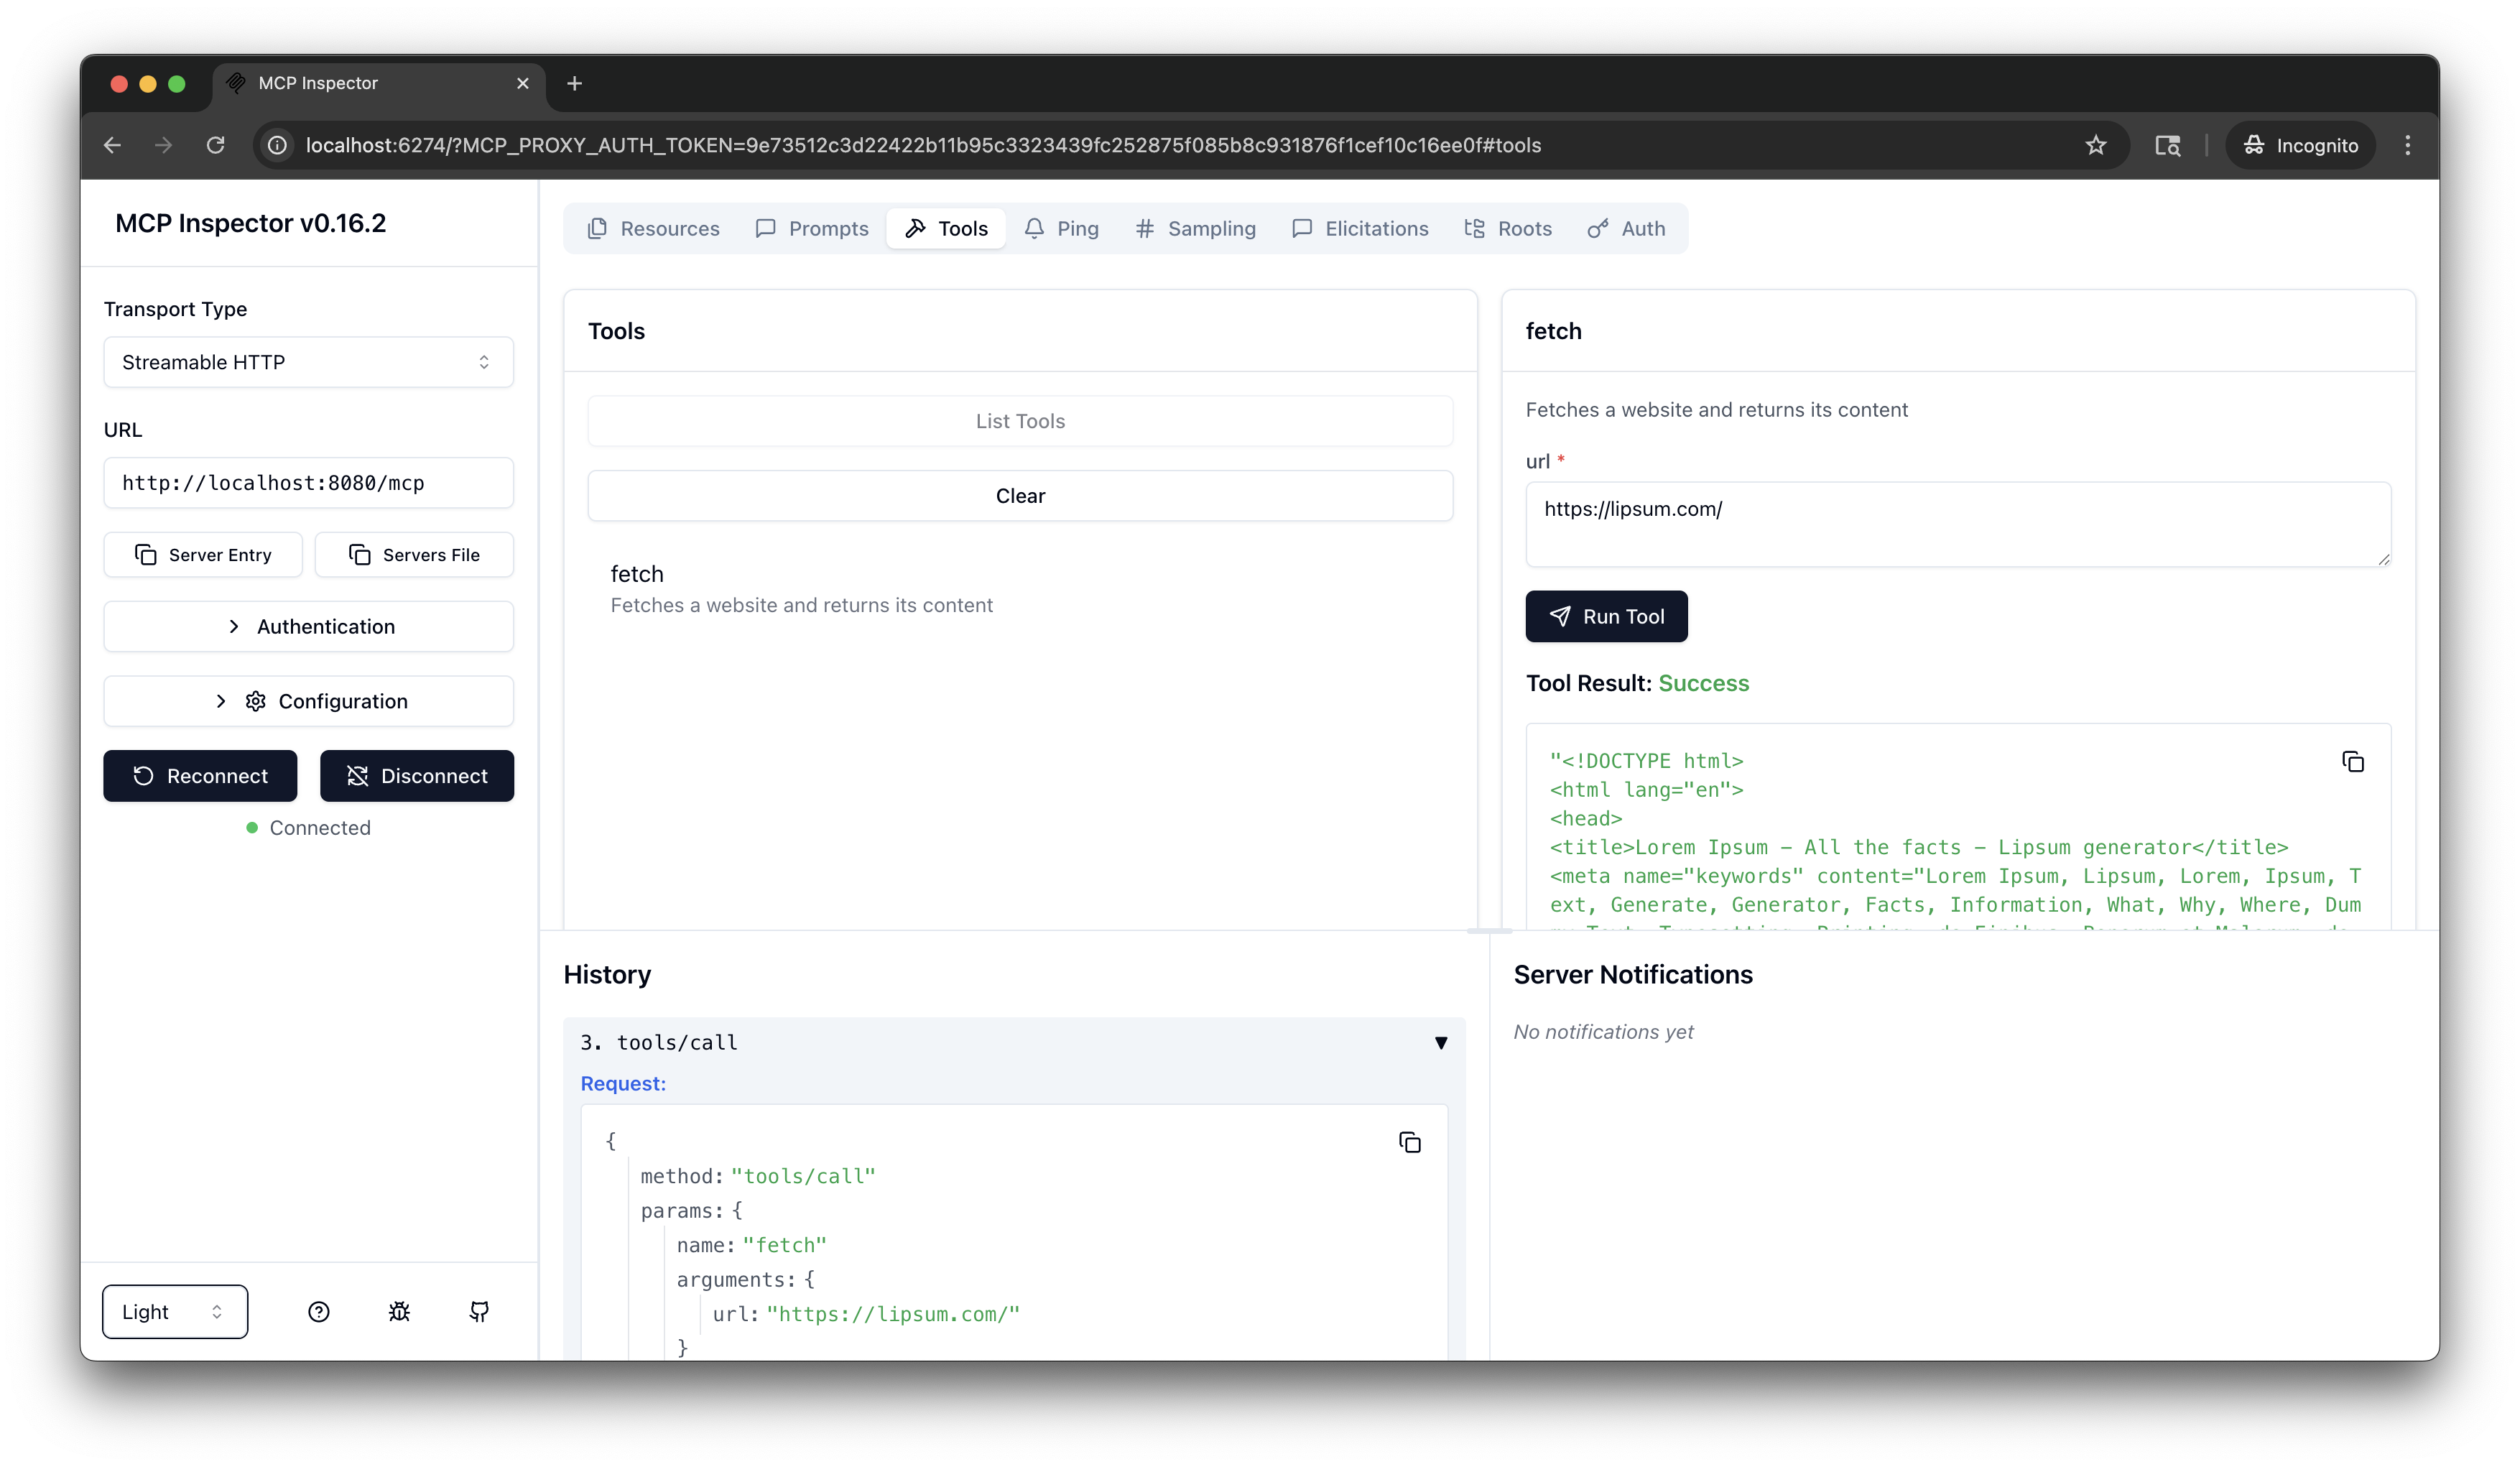
From the menu bar, click the Tools tab.
Click List Tools and select the
fetchtool.In the url field, enter a website URL, such as
https://example.com/.Click Run Tool.
Verify that the tool call succeeds and returns the fetched content. No additional authentication is required because the token from the initial connection is reused for all tool calls within the session.
Clean up
You can remove the resources that you created in this guide.kubectl delete AgentgatewayPolicy mcp-echo-authn
kubectl delete httproute mcp